String garden by Pop Plant
Maxi Walker and Gabriela Holland discovered a passion for plants and greenery while cultivating a garden paradise in the wilderness of Ollantaytambo, Peru. After a year, they found themselves back in Melbourne, living in a small inner city apartment. Craving foliage and undeterred by the lack of outdoor space, the couple began filling their apartment with a forest of indoor plants. Bit by bit, they became “plant-a-holics”. As they realised the positive effect of living with all this greenery, Gaby and Maxi decided to share the happiness effect with other city dwellers. And so, Pop Plant was born.
After experimenting with different materials and researching the hardiest, most practical and easy-to-care-for succulents and plants, Pop Plant now has a range of concrete pots and polyfelt string gardens (made from 100% recycled plastic bottles), which they carefully handcraft themselves. Currently, they are in the process of developing a range of polyfelt balcony planters and pot covers. In June 2013, Pop Plant will “pop” up to Sydney for a three month retail shop in the old Paramount Pictures building.
String gardens are originally from Japan where they are known as kokedama. Pop Plant have adapted this concept by wrapping the moss ball in polyfelt (commonly used in vertical gardens). This makes for a sharper, more industrial aesthetic, and emphasises the lushness and greenery of the foliage as it emerges from the dark grey material.
Ingredients
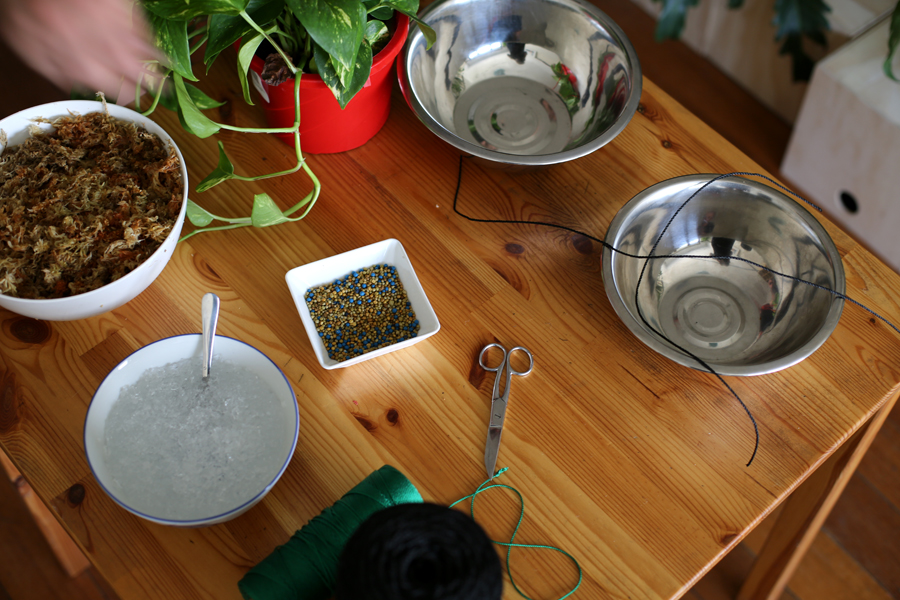
10 metres (approx) Fishermen’s nylon
1 polyfelt square (approx 30cm x 30cm)
4 handfuls Spaghnum moss
1/3 teaspoon dry water crystals
1 teaspoon slow release fertiliser
Plant of choice
Instructions
Step 1: Soak the Spaghnum moss in water and put to one side.
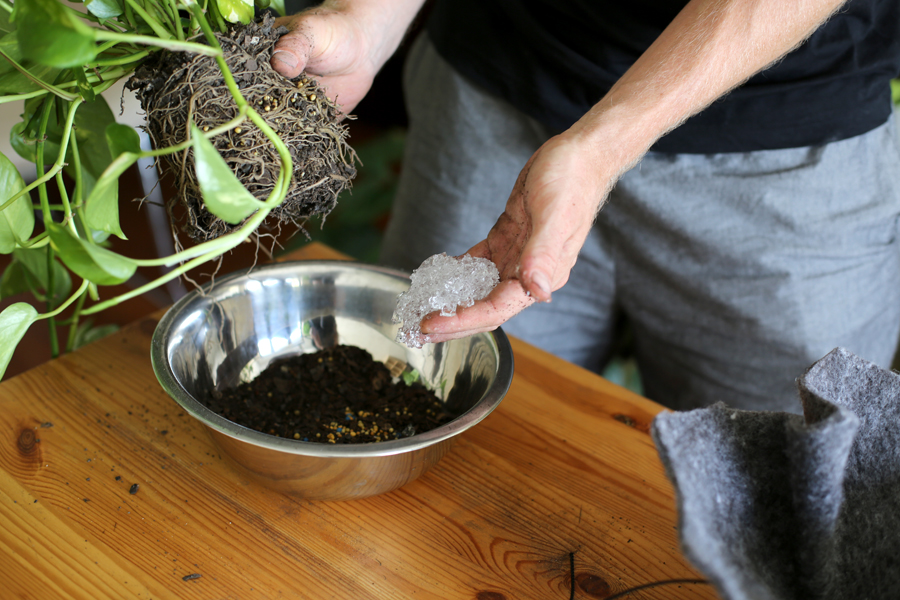
Step 2: Place water crystals in a receptacle and add 150mls of water. Leave these for half an hour until they expand, absorb all the water and become jelly-like.
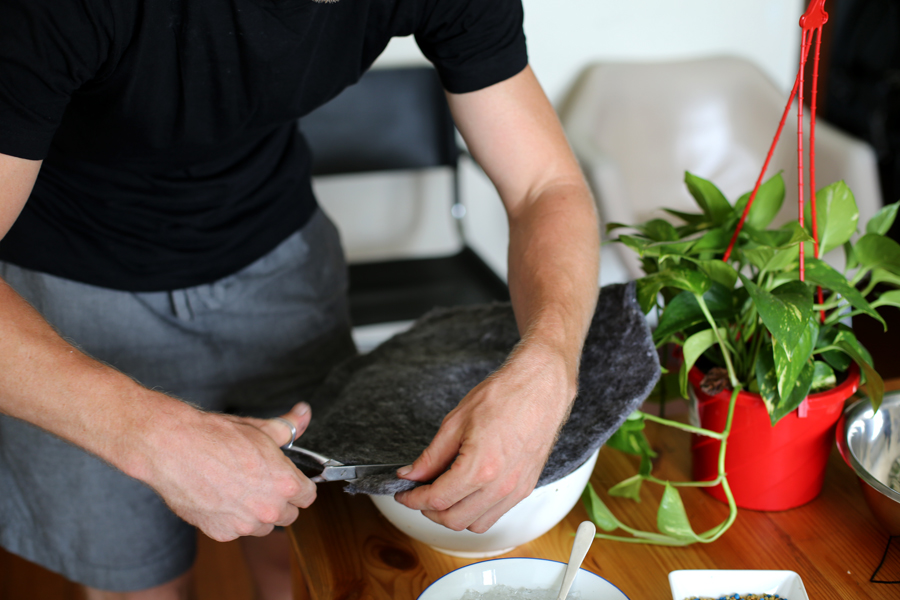
Step 3: Use a regular soup bowl, cut two pieces of the fishermen’s twine, each approx 35cm in length and place in the bowl in a cross. Next, round off the corners of the poly-felt square and place on top of the twine. Then line the polyfelt square with a generous layer of Spaghnum moss. Set aside for later.
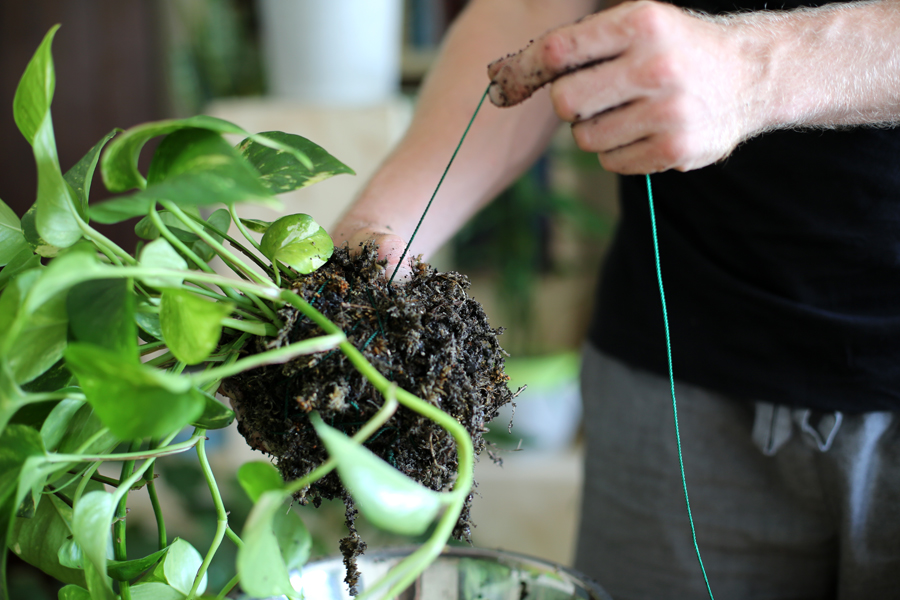
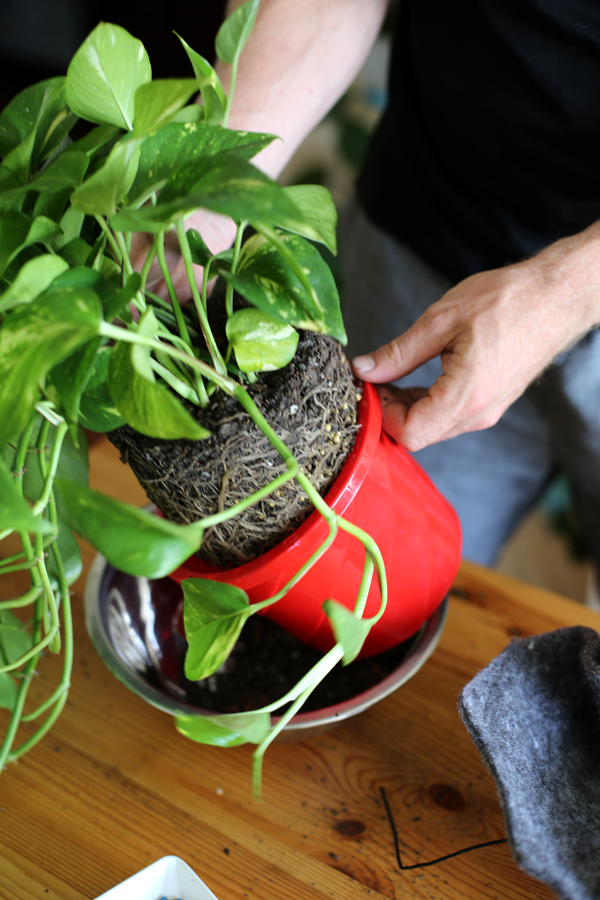
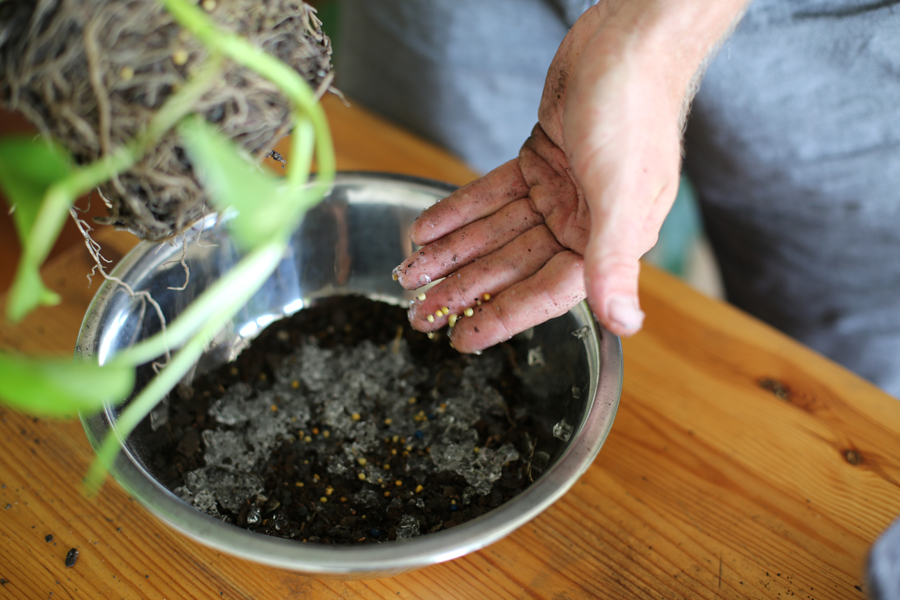
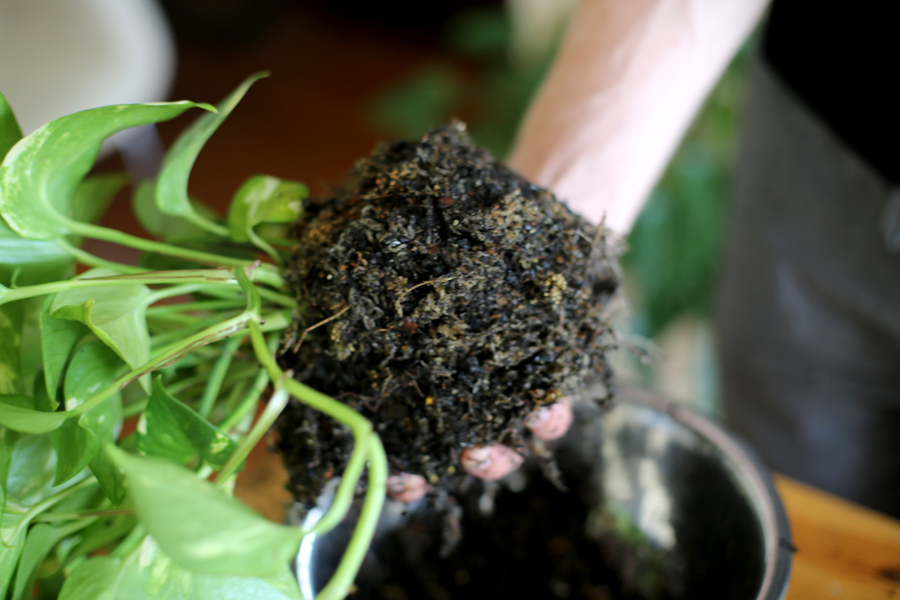
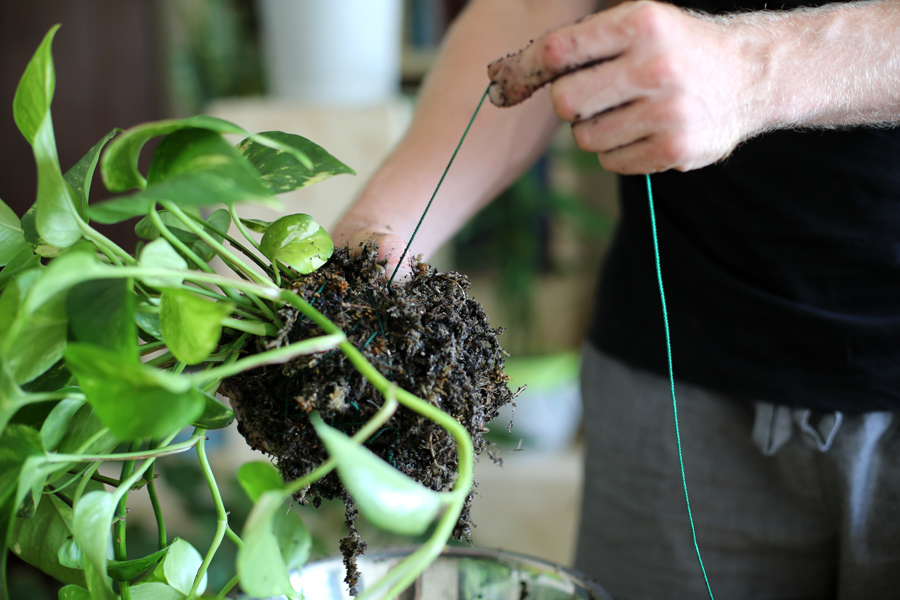
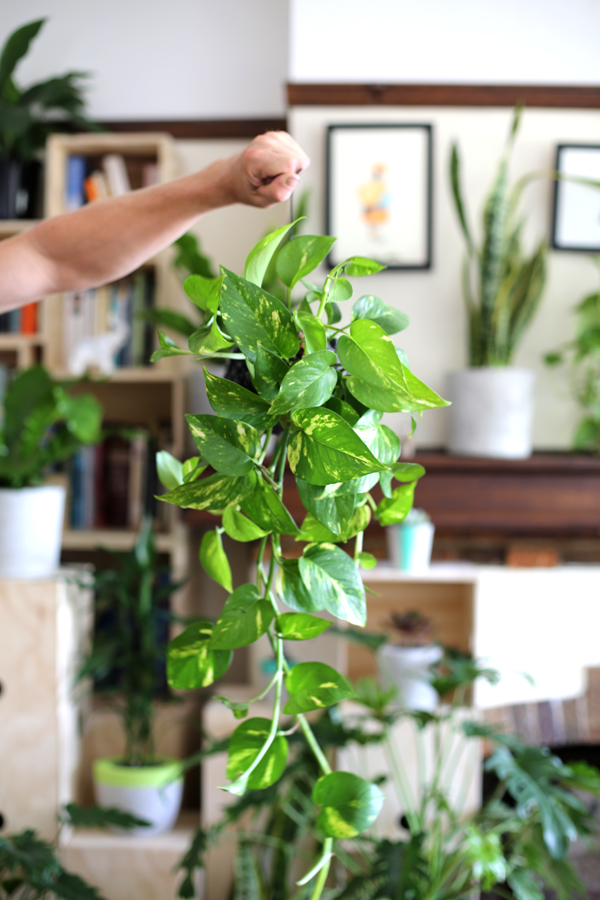
Step 4: Now it’s time to prepare the root ball. Remove the chosen plant (in this case, Devil’s Ivy or Epipremnum Aureum) from its pot over another bowl, allowing the excess soil to fall into the bowl. Hold the plant by its root ball in one hand and with the other add the remaining spaghnum moss, water crystals and the fertiliser to the excess soil and mix well. Bit by bit, mould this mixture onto the root ball, always maintaining a spherical shape.
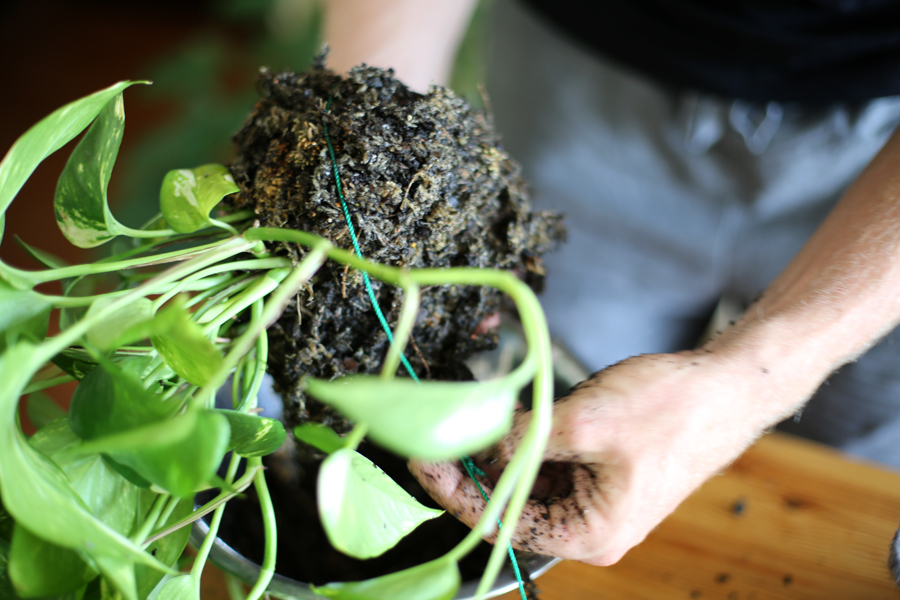
Step 5: Bind the ball by winding fishermen’s twine around it various times, ensuring you sculpt as perfect a sphere as possible.
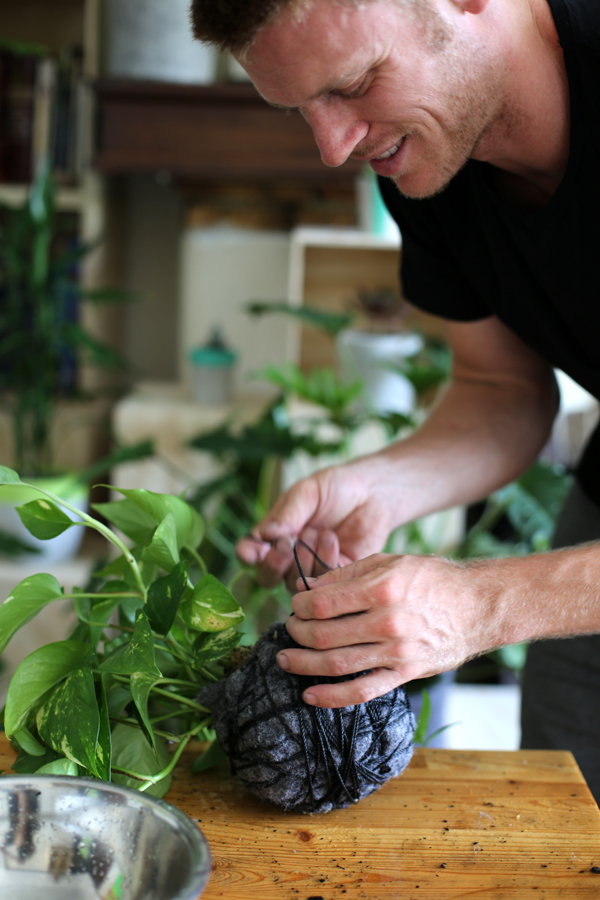
Step 6: Place the root ball in the bowl prepared in step 3. Collect the polyfelt square at the edges and bring together towards the middle like a Christmas pudding bag.
Step 7: Tightly tie the two pieces of crossed twine through the middle of the root ball to secure the polyfelt. Use the remaining twine to repeatedly wind around the polyfelt ball in alternating directions (approx 20 times) until you are happy with the shape and tautness of the ball and tie securely.
Step 8: Tie another piece of twine (at the length you desire) to the string garden and hang in an appropriate nook.
Care tips: To water the string garden, take it down from its hanging spot, then place its polyfelt base in a bowl of water for approx. 10 mins. Remove from water and allow for excess water to drain away before re-hanging. Depending on your plant of choice, water around once weekly, when the polyfelt base feels light and dry.
Maxi Walker, Gabriela Holland and little Leo at home, Pop Plant HQ. All photos by Pino Demaio.
For the latest Pop Plant news, check out their FB page.
popplant.com.au
