A recipe for portable, picnic-ready onigiri
Onigiri is essentially cooked rice, shaped into balls or triangles that are often flavoured or filled. Onigiri can be traced back to around the 11th Century in Japan, when they were often eaten at outdoor picnic lunches.
While they are still made at home, they are also now available on nearly every corner in Japan. From supermarkets, to fancy department stores, onigiri are everywhere, eaten as a snack, but more commonly as part of a bento lunchbox. There are so many varieties, from just plain salt to more elaborate combinations using expensive or special ingredients – they’re all tasty!
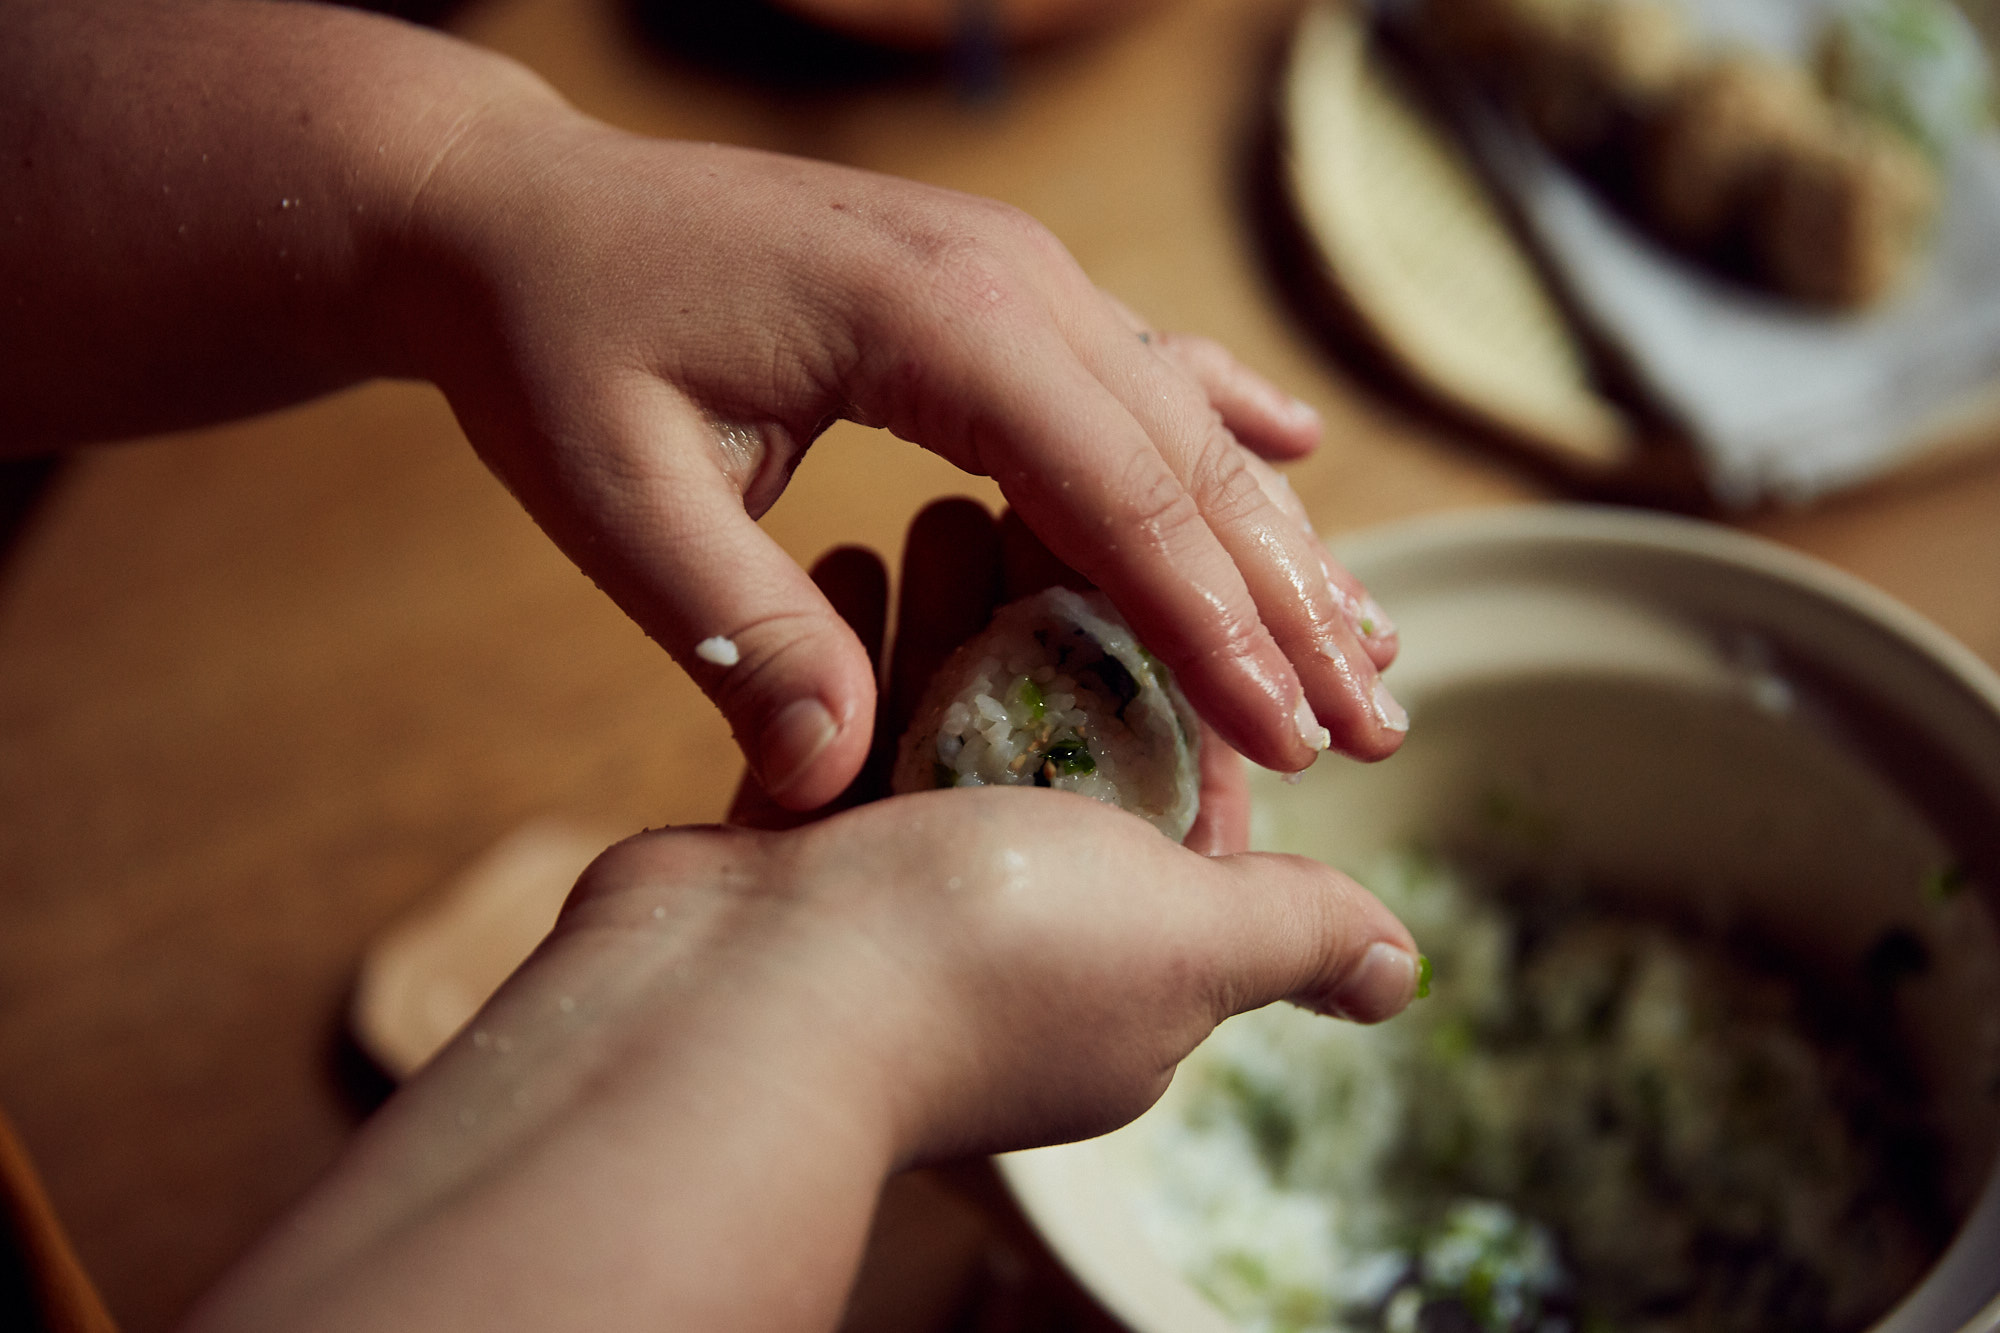
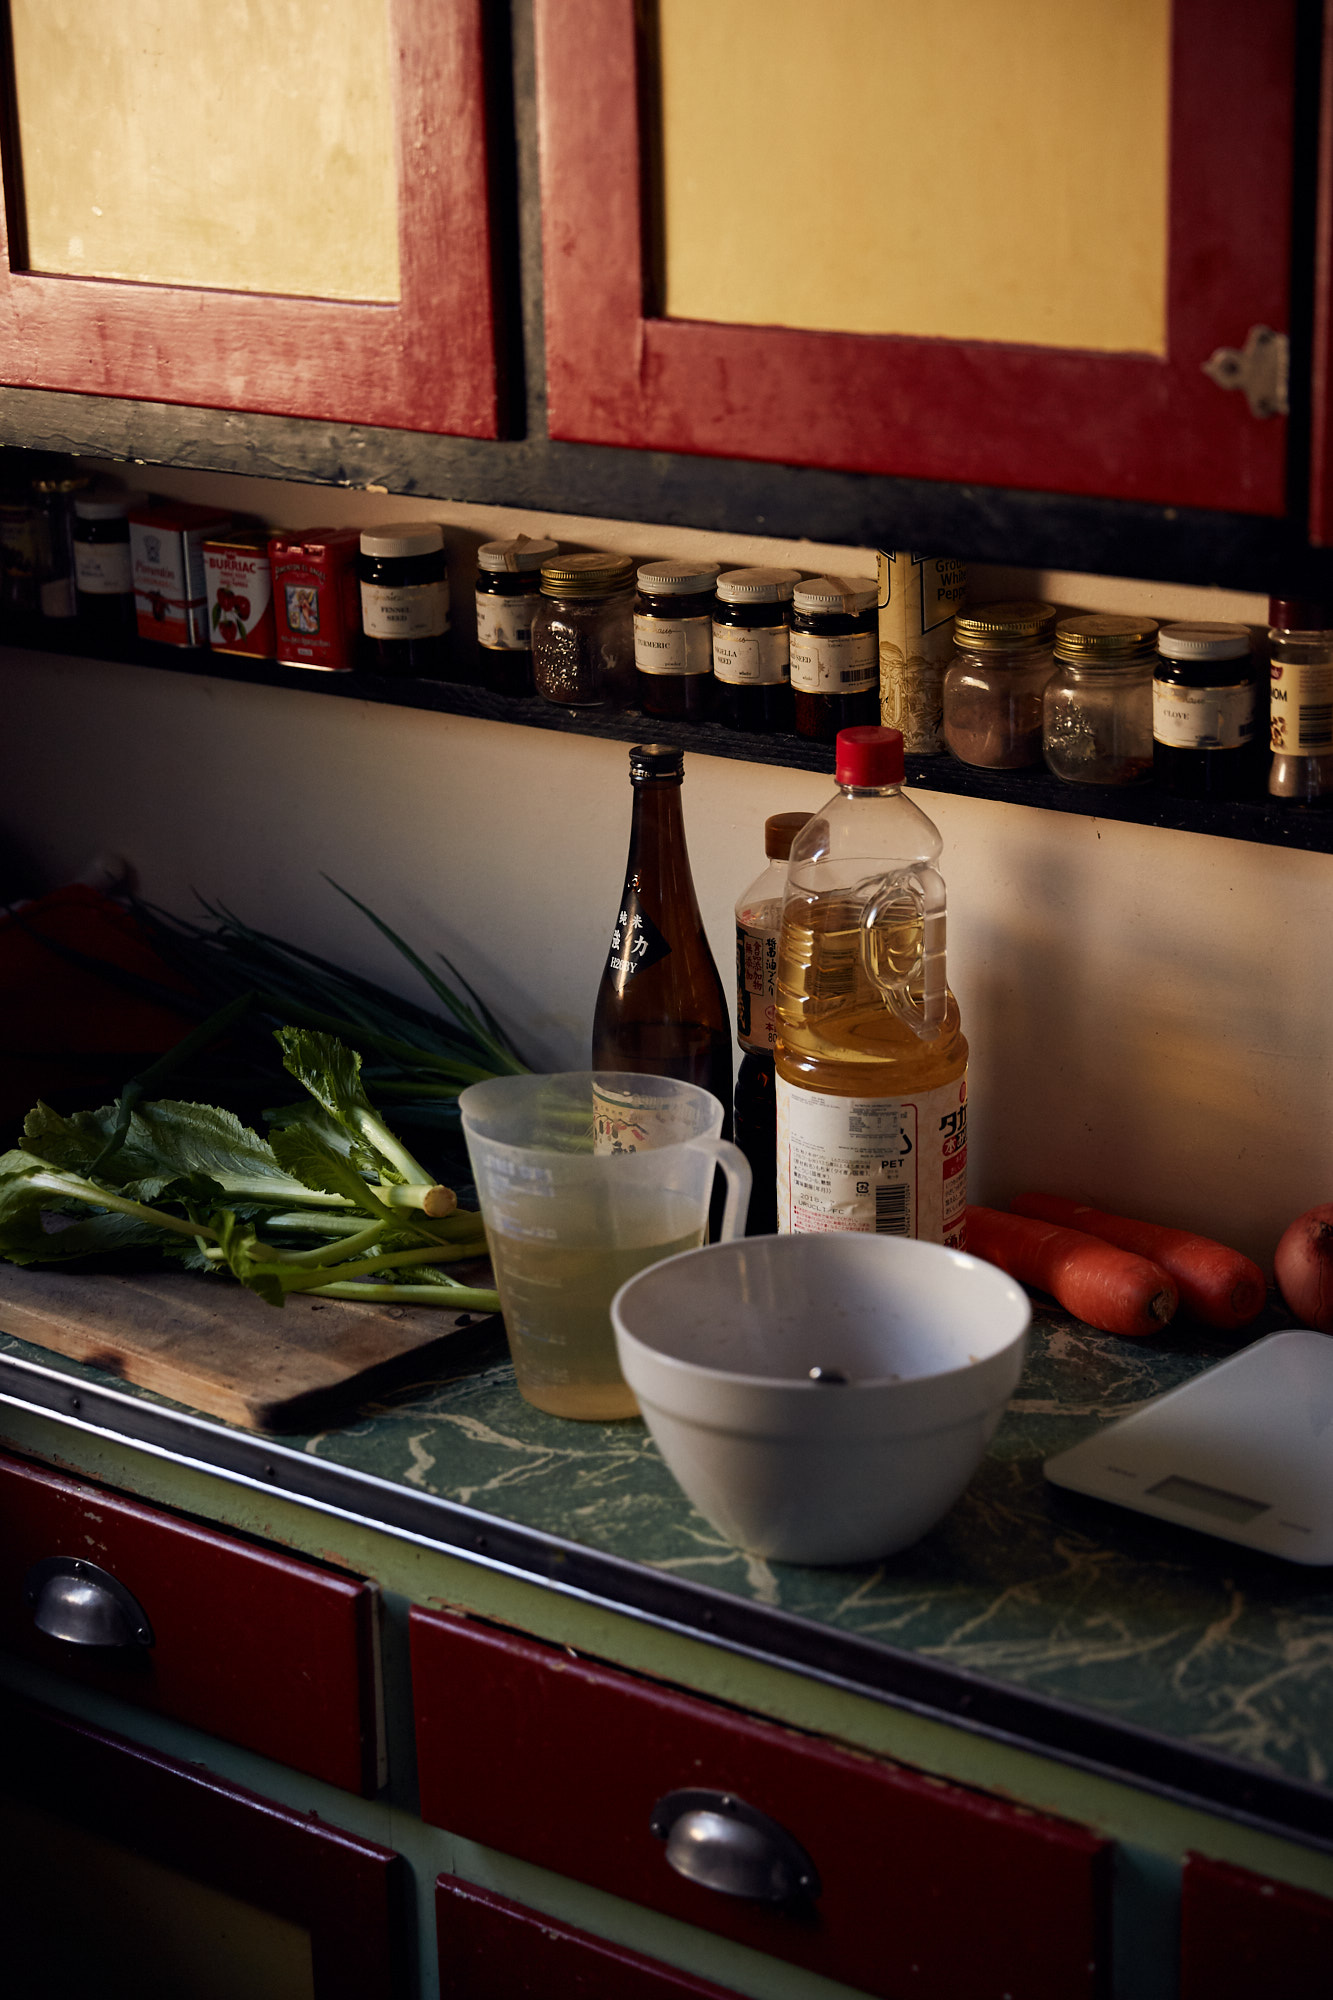
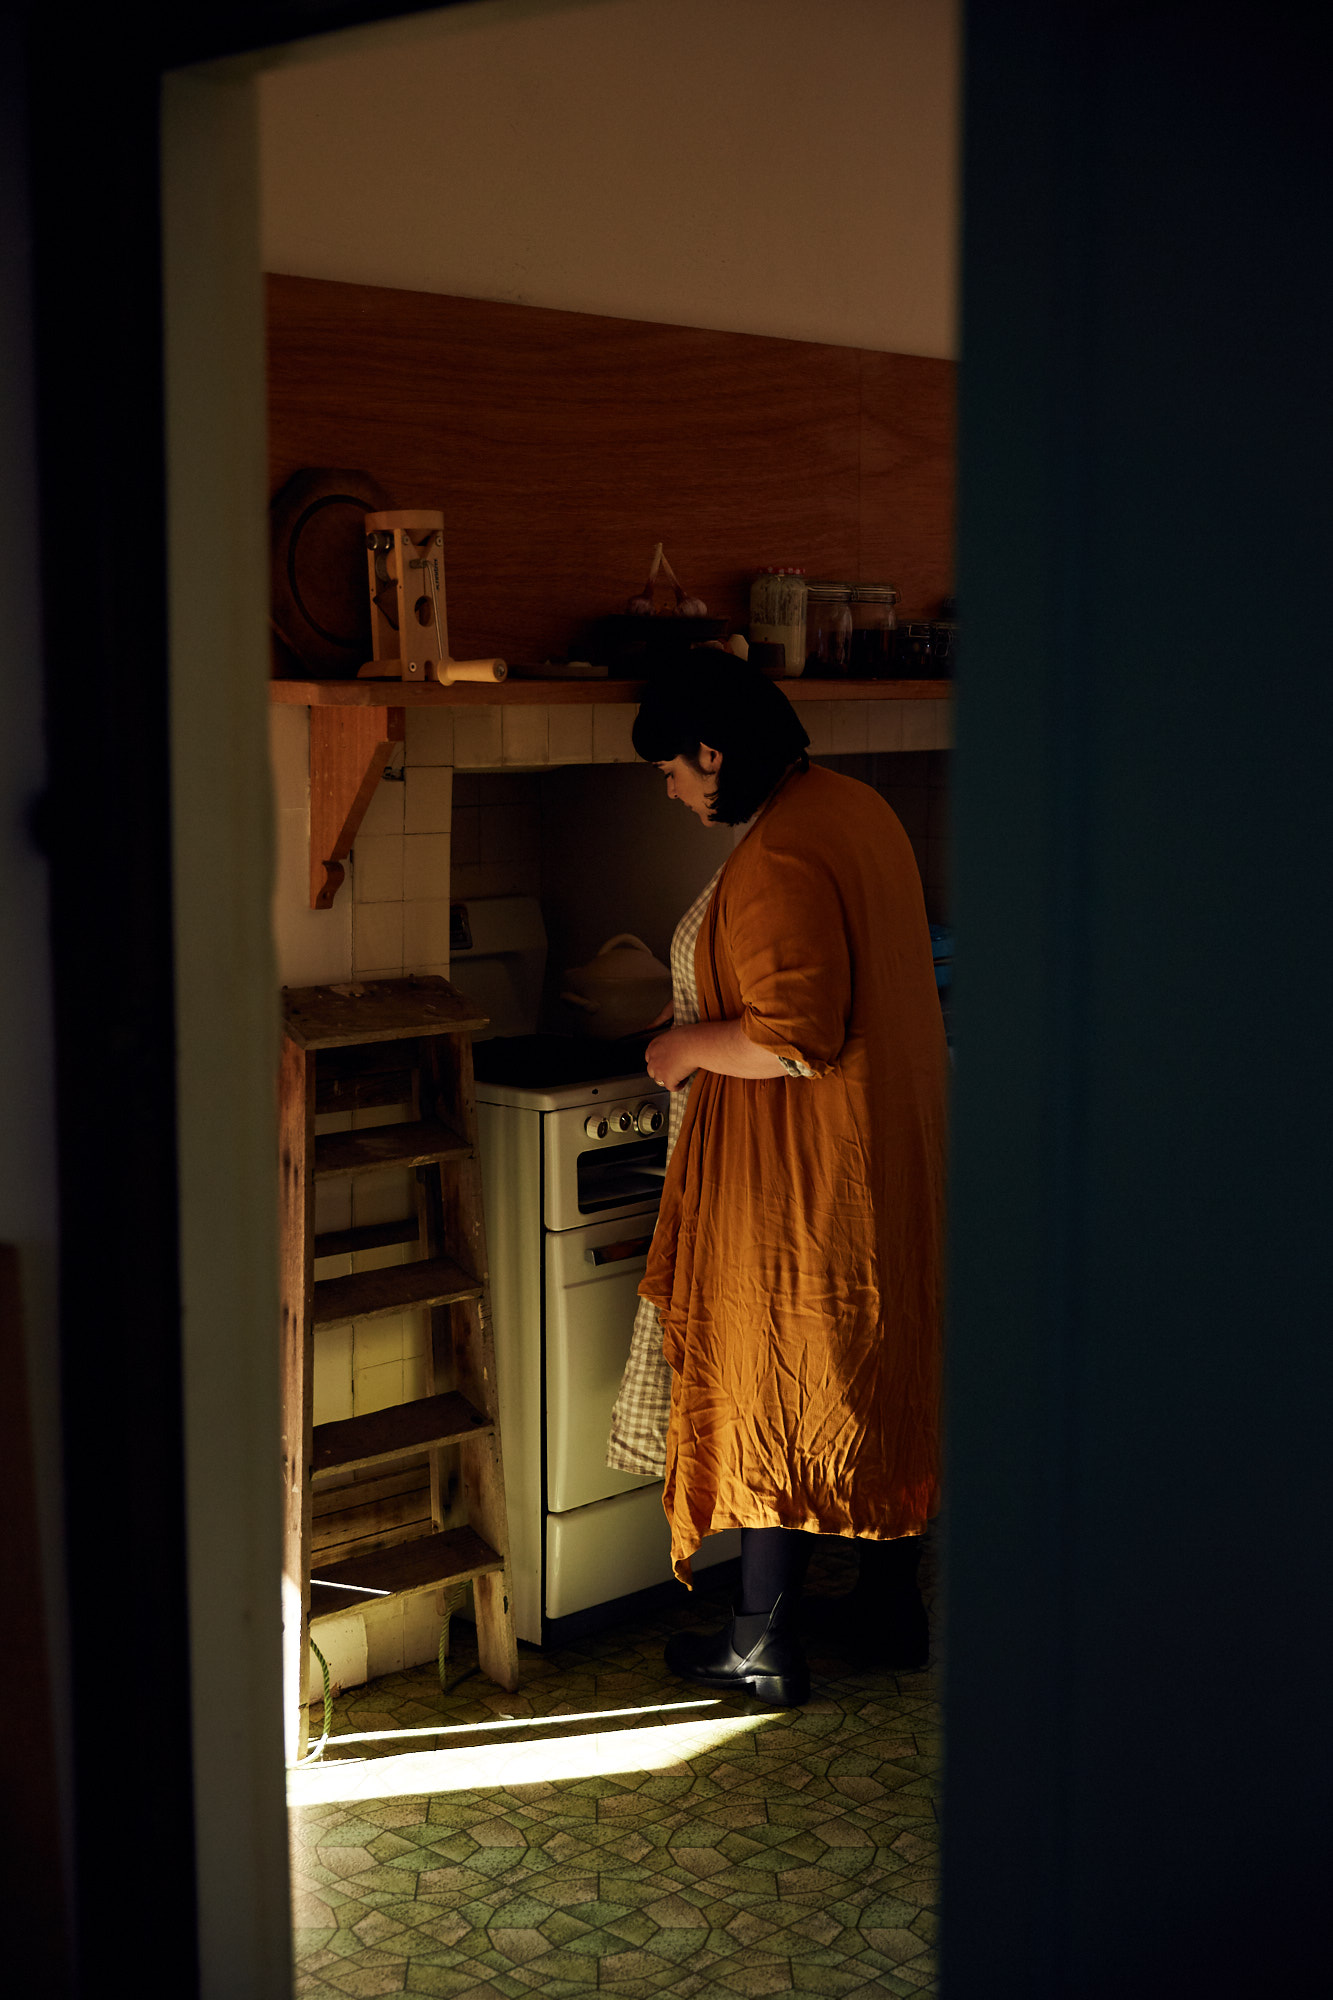
Traditionally, onigiri are filled with pickled or salted foods as these act as a natural preservative. Here I’ve suggested two varieties that aren’t filled, but rather, the rice is seasoned and flavoured with ingredients instead. These two are my son Haruki’s favourite thing to eat for lunch so we make them quite often. I’m still a bit wobbly when it comes to shaping them into perfect triangles (my husband Nori often is around to help) – it’s a lot easier if the rice is warm and your hands are damp to avoid the rice sticking. They are often made simply as balls too, which is a good option if the triangles are a little tricky. We cook our rice in a traditional ceramic stove-top rice cooker, but a sturdy pot will work just fine too.
If you can’t find mustard greens, another leafy green like kale or silverbeet could be used. The addition of umeboshi, salted plum, really makes these onigiri special, and can now be found in lots of supermarkets. For the mushroom onigiri, shimeji mushrooms can be substituted with other varieties like shiitake or king brown, just be sure to chop them into smaller pieces – large pieces will make shaping the onigiri rather difficult. If you want to make the mushroom onigiri fully vegetarian, instead of using bonito to make the dashi, a small handful of dried shiitake can be used in the same way to make a light stock.

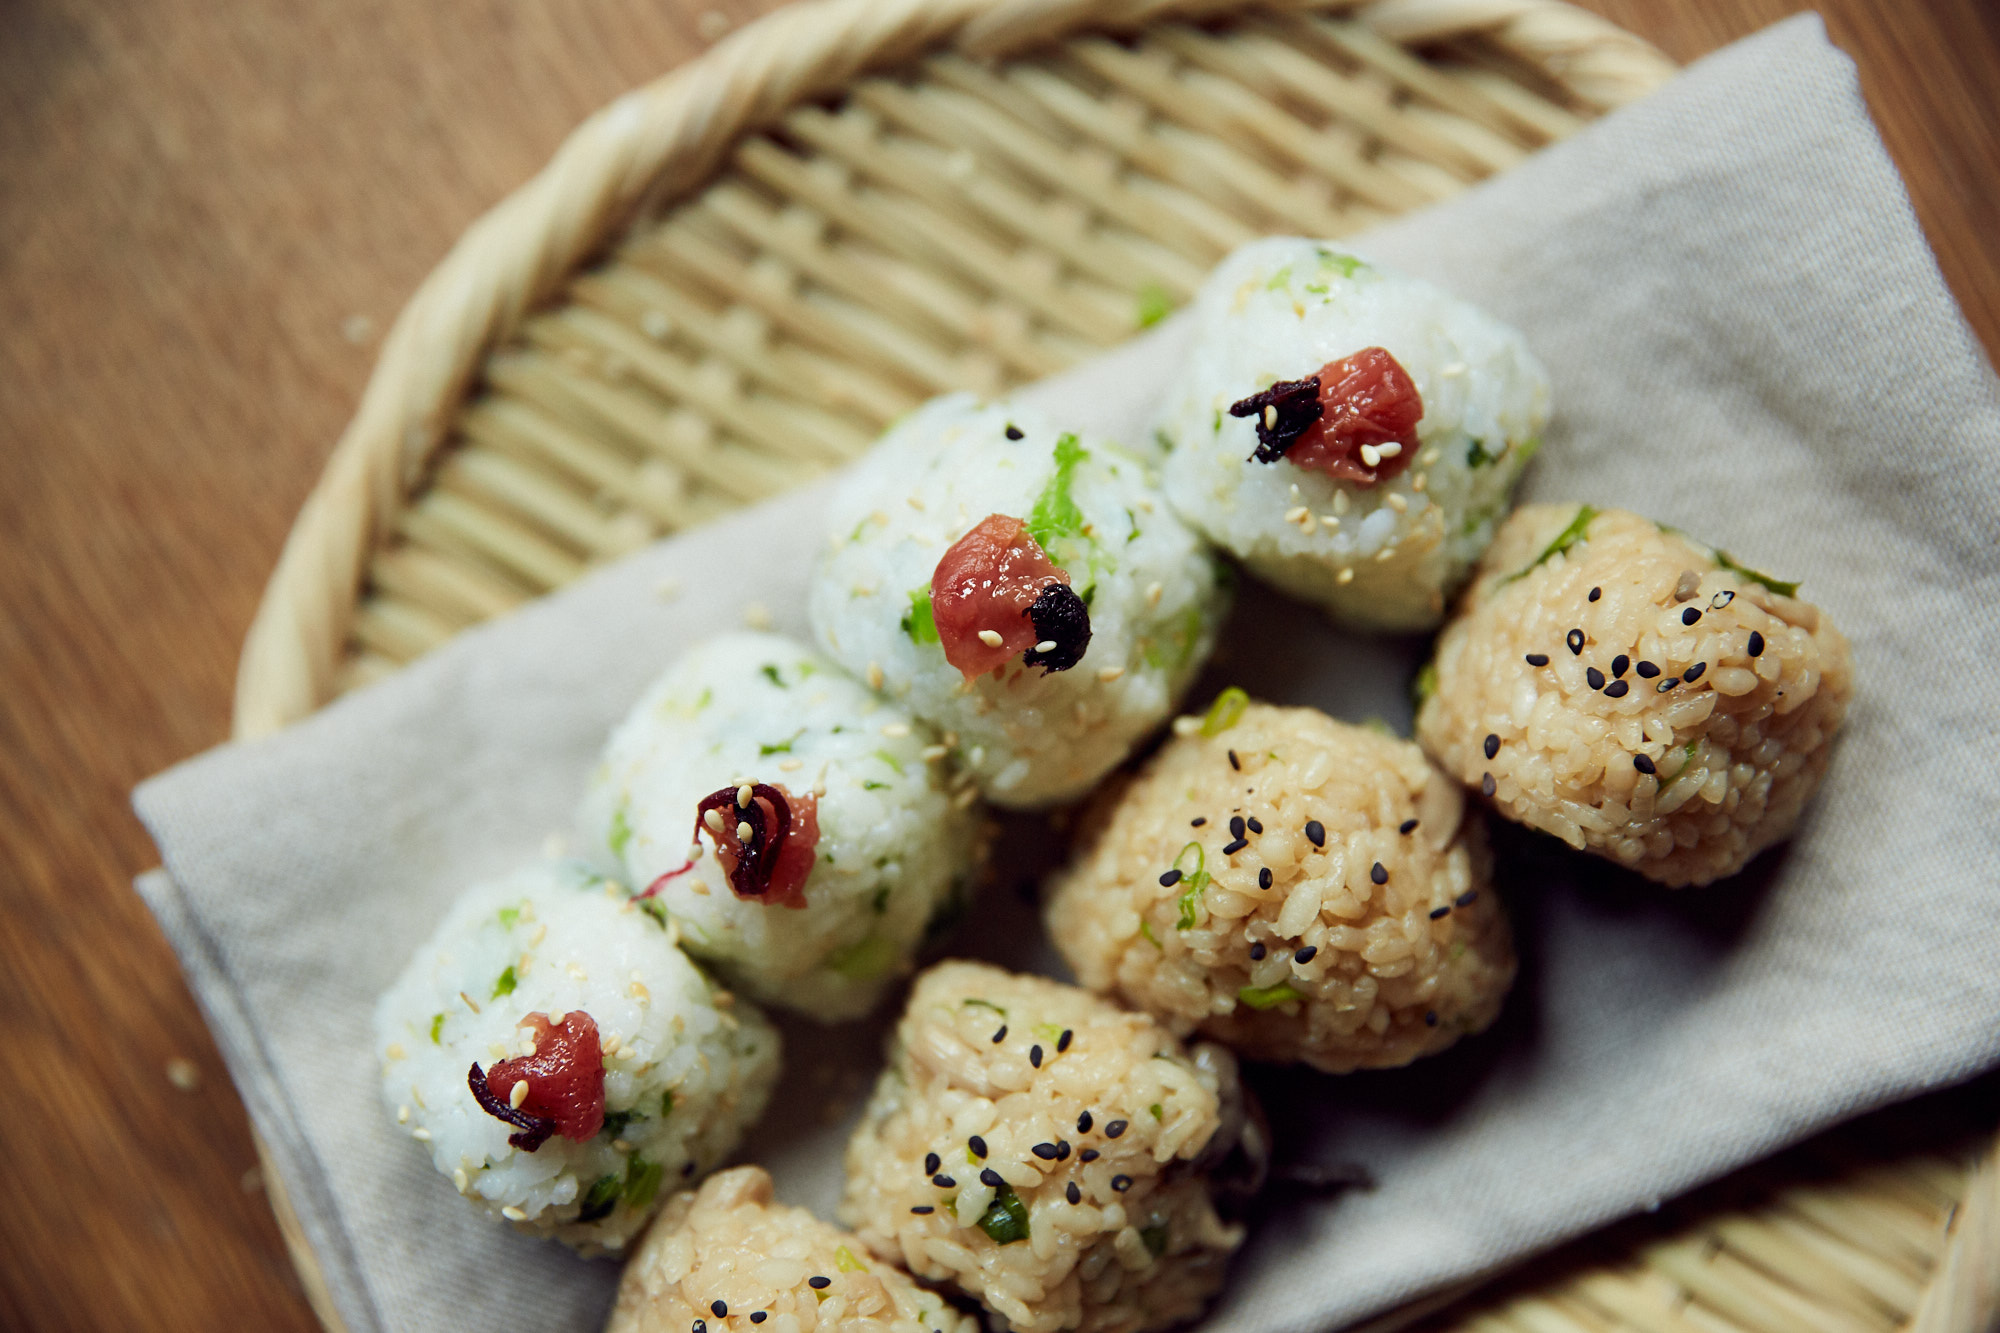
Mustard greens and umeboshi onigiri
Makes 4 large or 6 small onigiri
1 cup short grain rice
Large handful, around 1/2 bunch, of mustard greens
Sea salt
1 tbsp white sesame seeds, toasted
Umeboshi, to serve
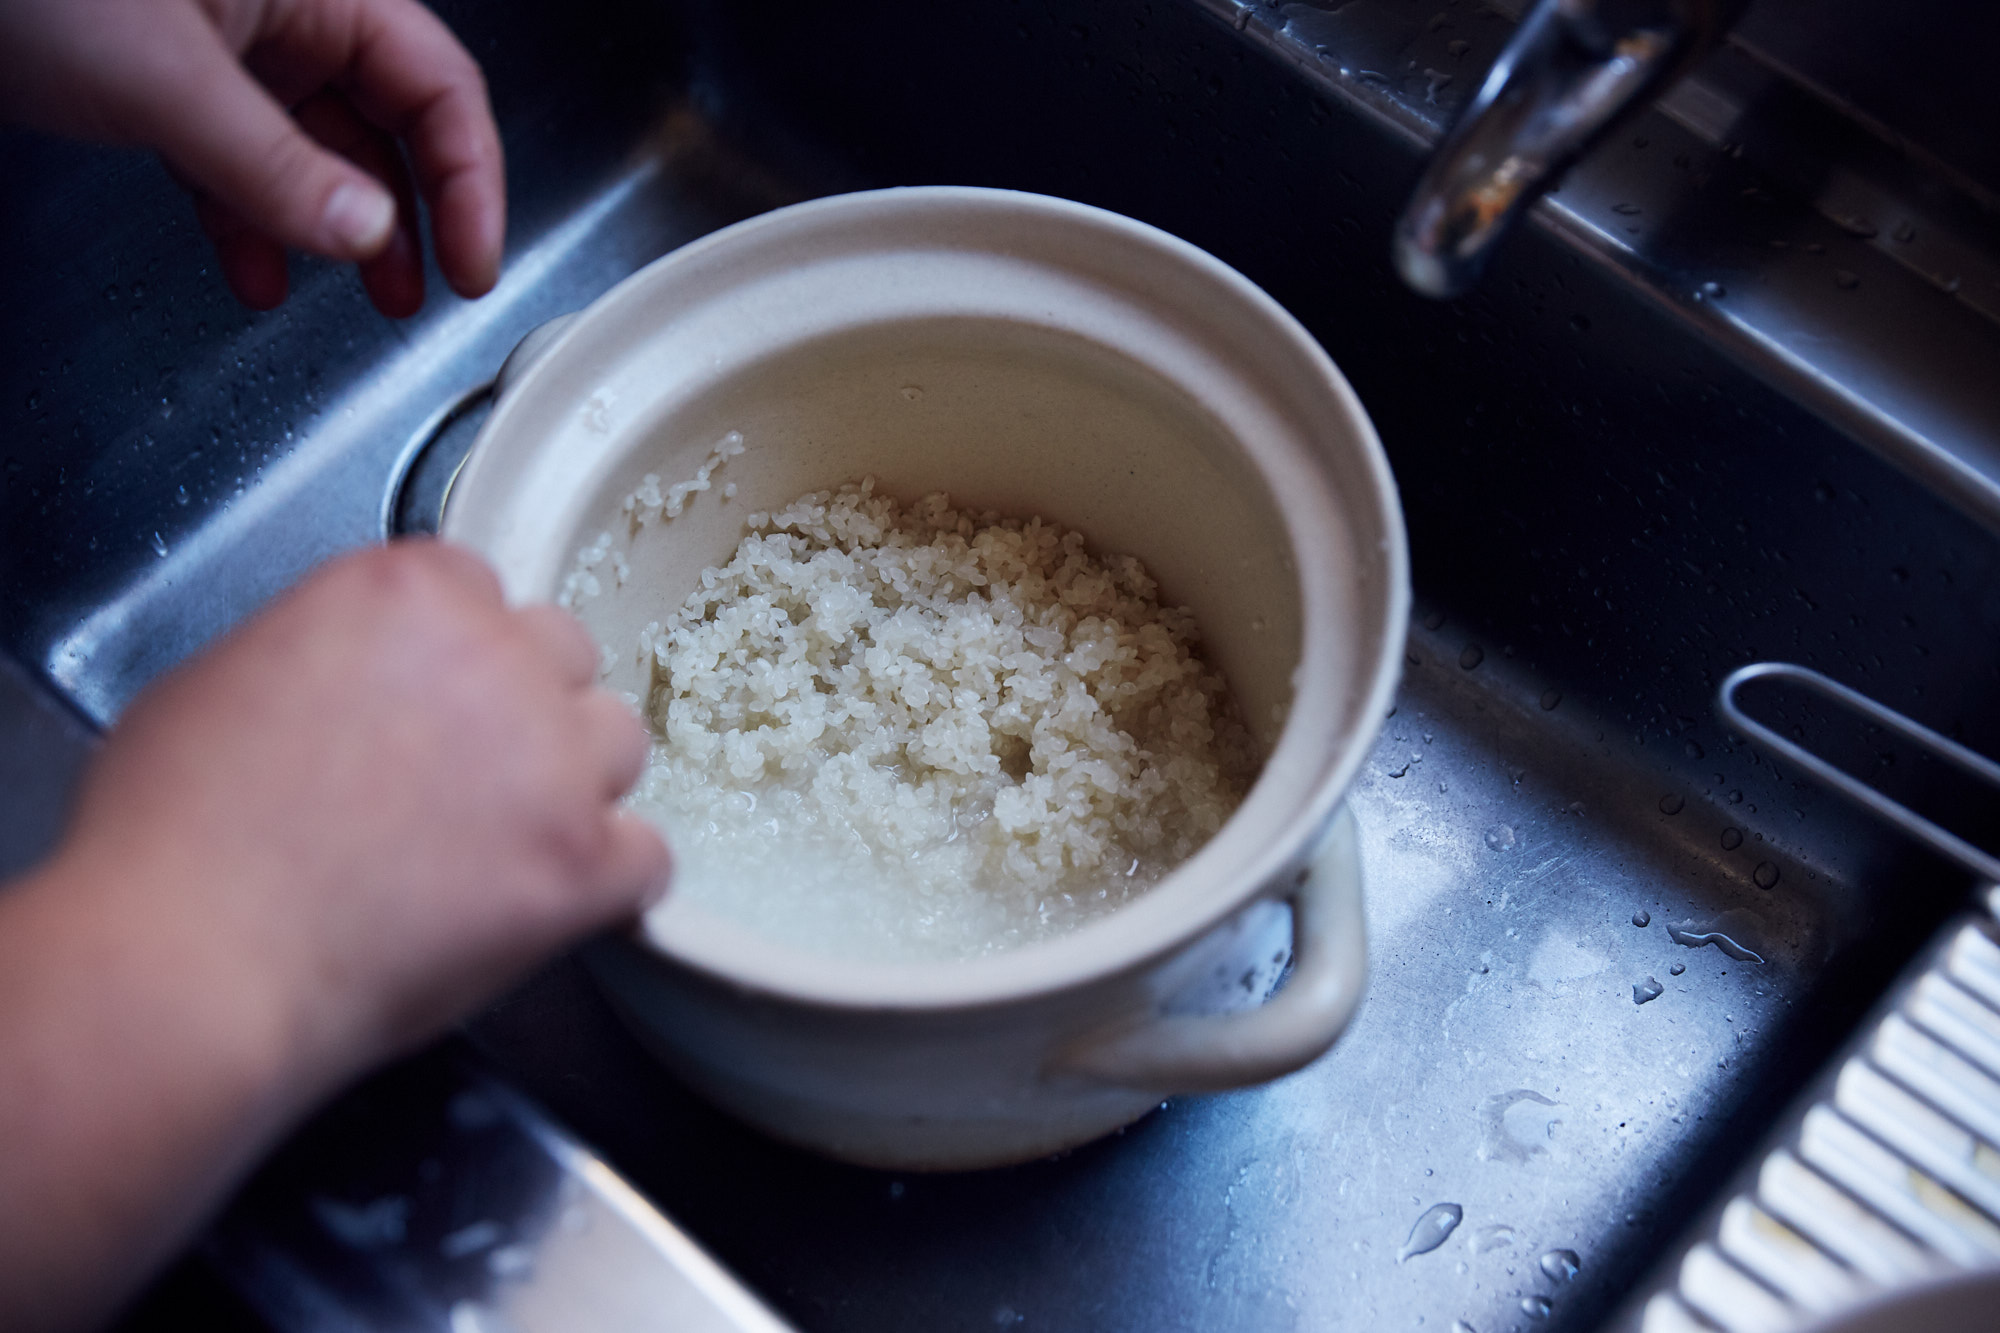
Place the rice in a pot or stove-top rice cooker and fill with cold water. Agitate the grains with your hands, draining away the starchy water. Repeat this until the water runs almost clear. Cover with 300ml of water and bring to the boil over high heat. Reduce heat to low and cover. Cook until all water has been absorbed (approximately 10–15 minutes) and remove from heat. Avoid lifting the lid too much during the cook as the steam is crucial to achieving the right consistency. Leave covered for a further 5 minutes off the heat to allow the rice to finish absorbing any excess moisture.
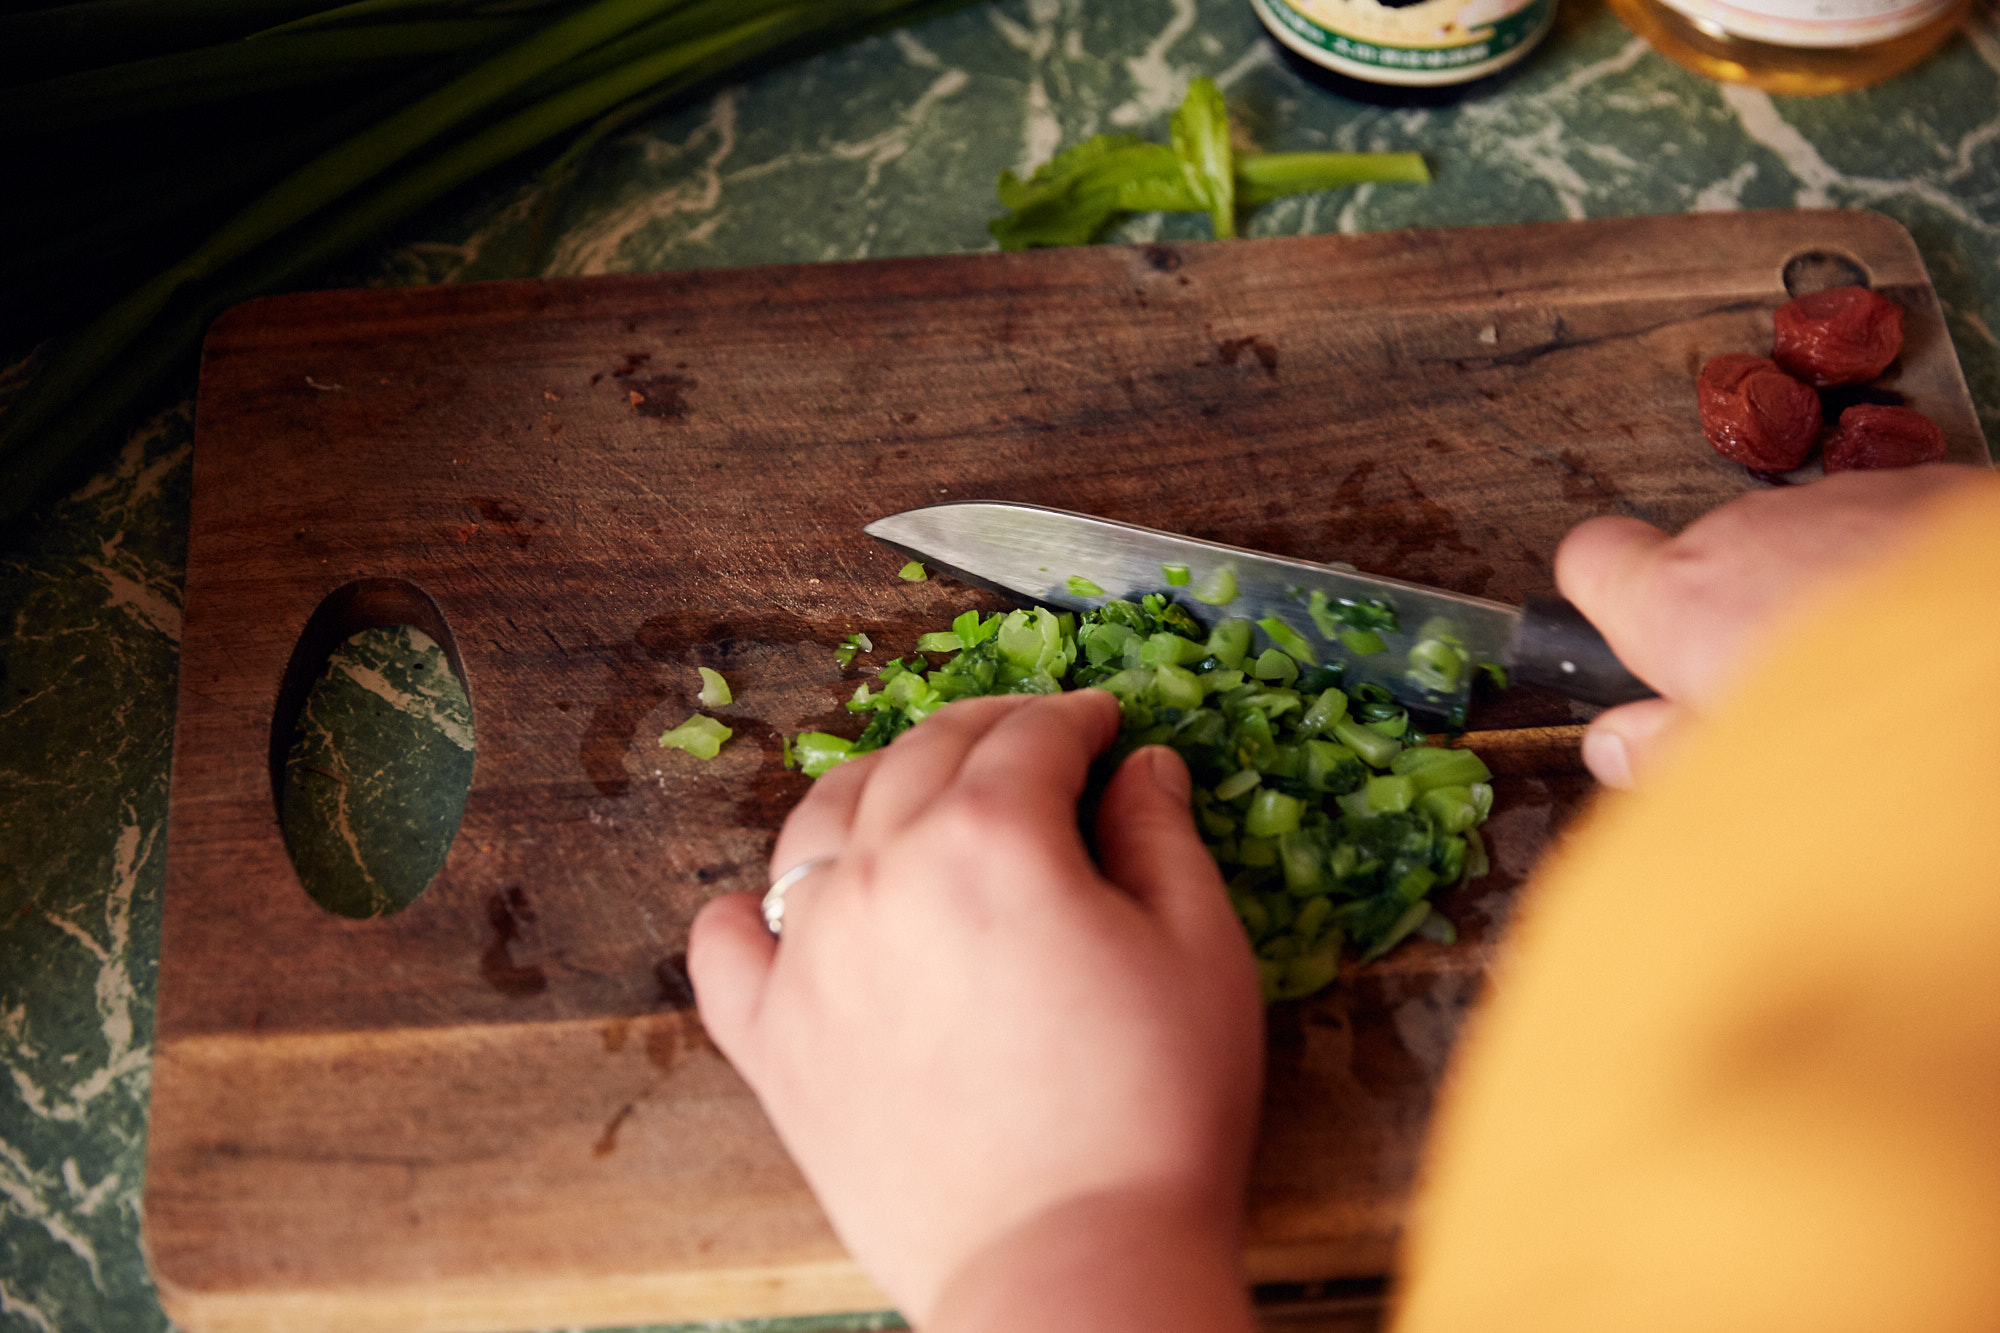
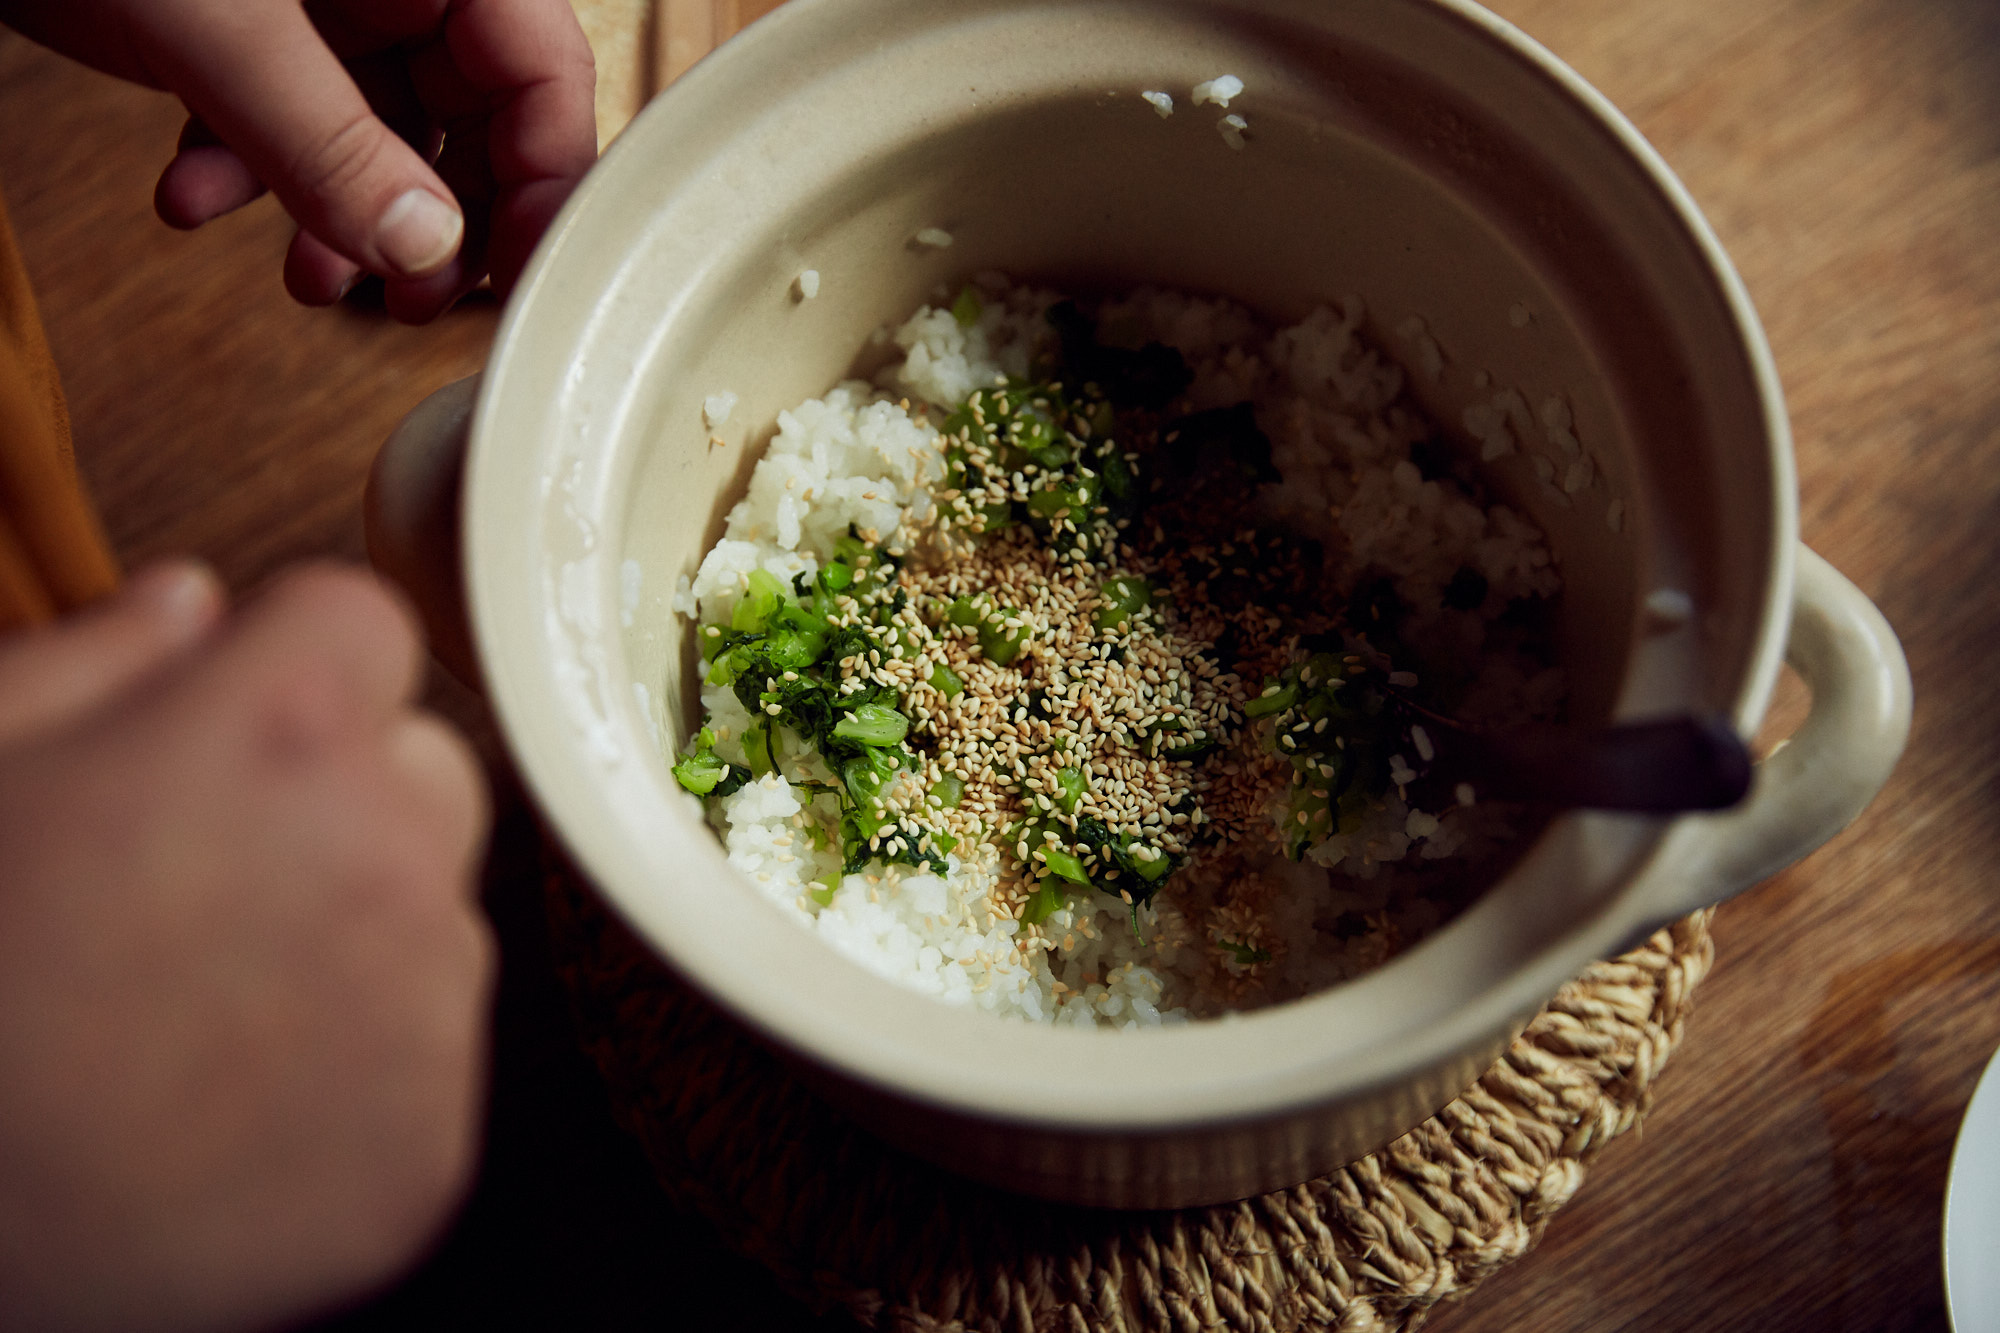
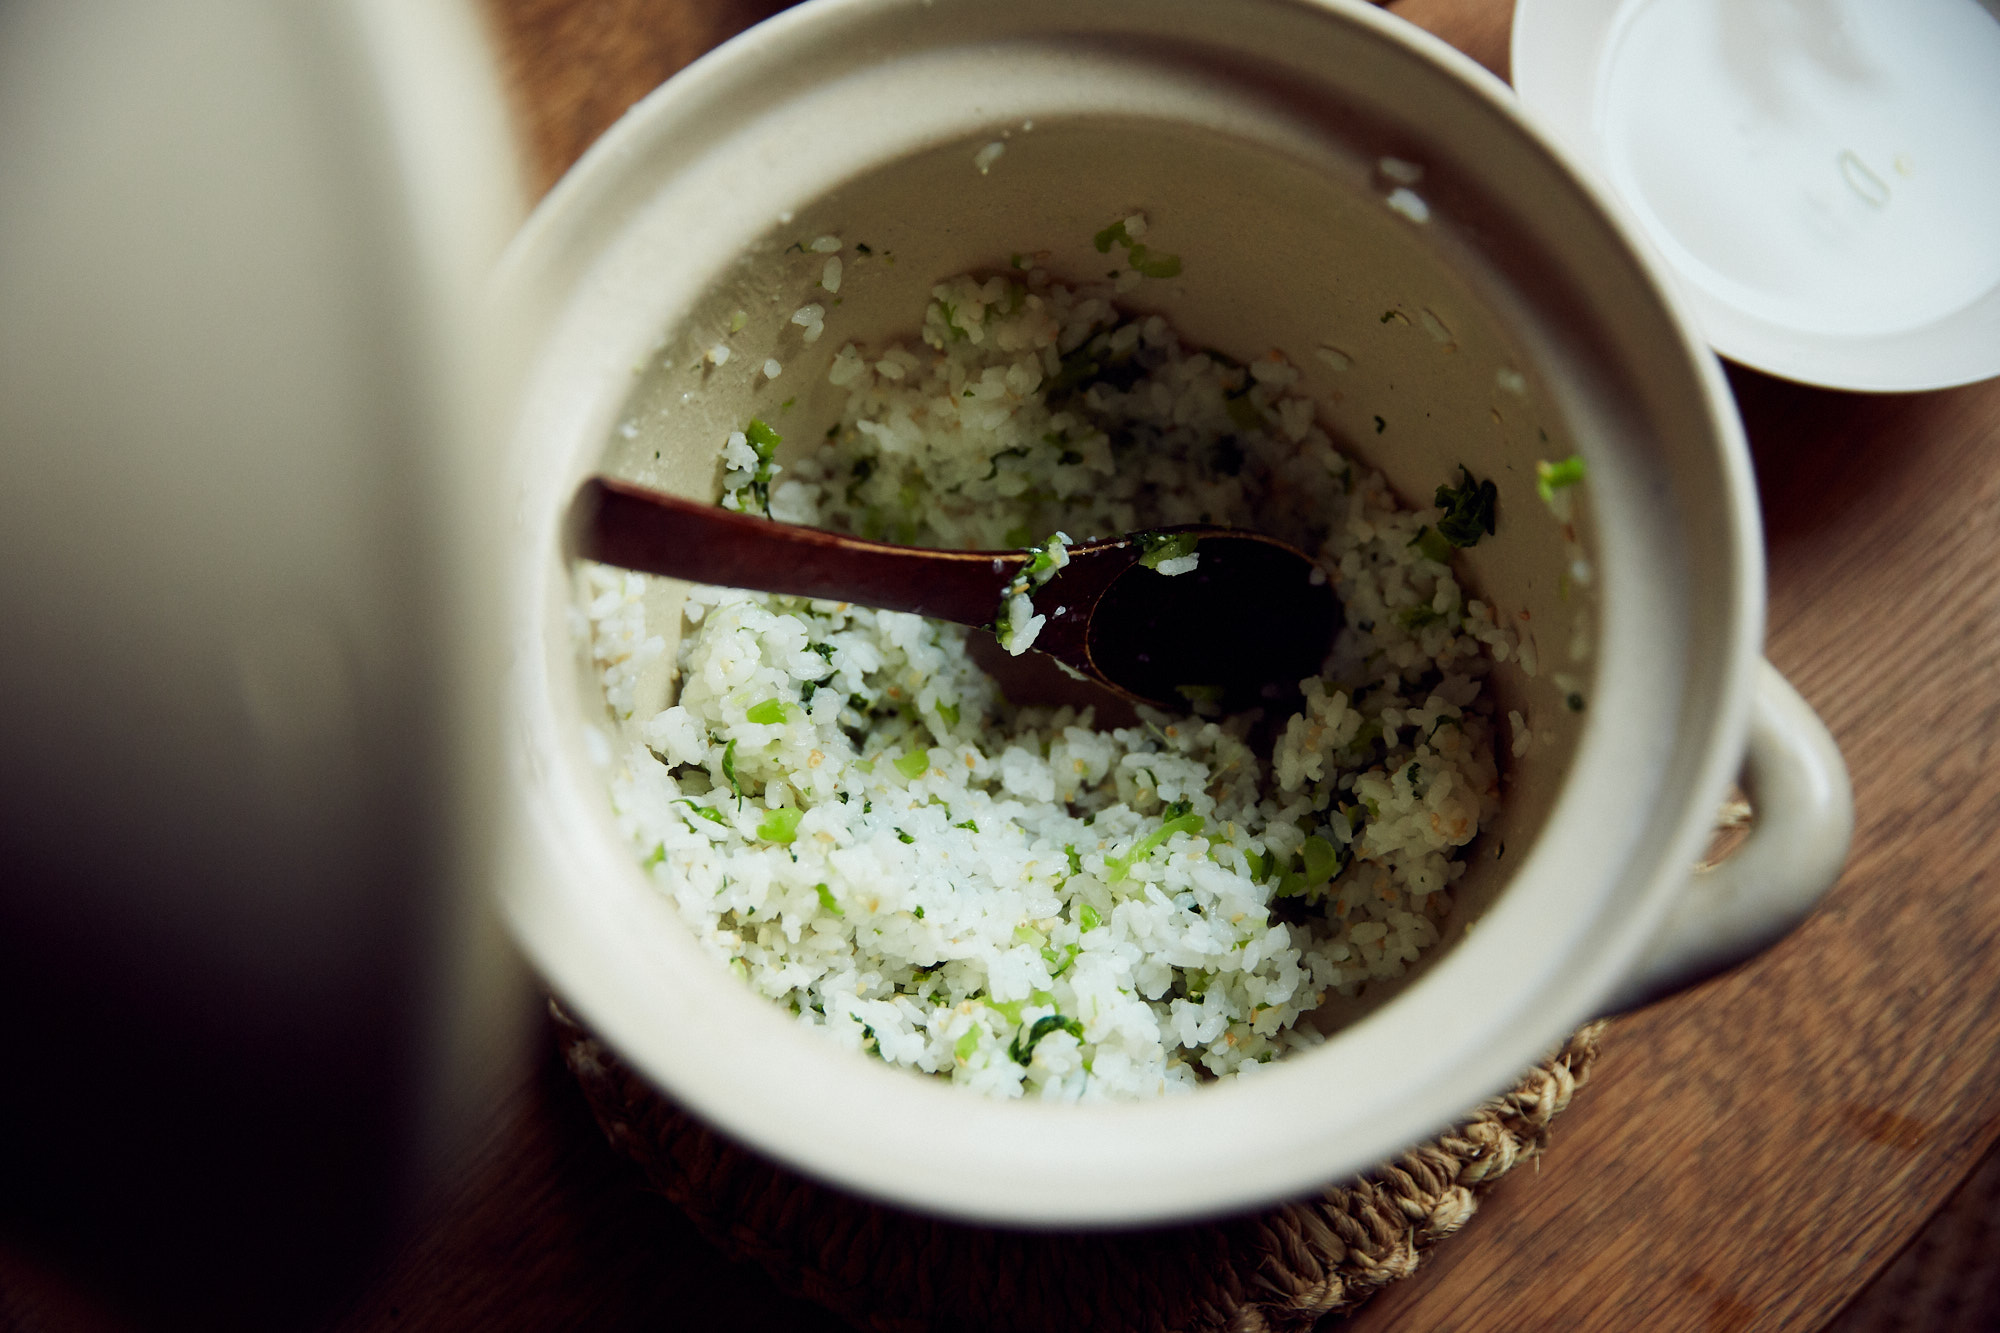
While the rice is resting, blanch the mustard greens in boiling water for 1-2 minutes or until just wilted. Refresh in iced water and drain well. Chop the greens quite finely, but still with some texture, and transfer to a small bowl. Season generously with salt and allow to sit for a few minutes then squeeze any excess water from the greens. Stir the mustard greens and the sesame seeds into the rice, and once cool enough to handle, you can begin shaping the onigiri.

To shape onigiri, wet your hands with cold water, then coat your hands with a pinch of salt. Take a large spoonful of rice and place in the palm of your hand. Cup your hands slightly and use one hand to rotate the onigiri and the other to gently cup it until you have a firm triangle. Try and work fast to avoid the rice sticking to your hand – if this does happen, you can dip your hand in water again. Place a small piece of umeboshi on top of each onigiri and serve warm or at room temperature.
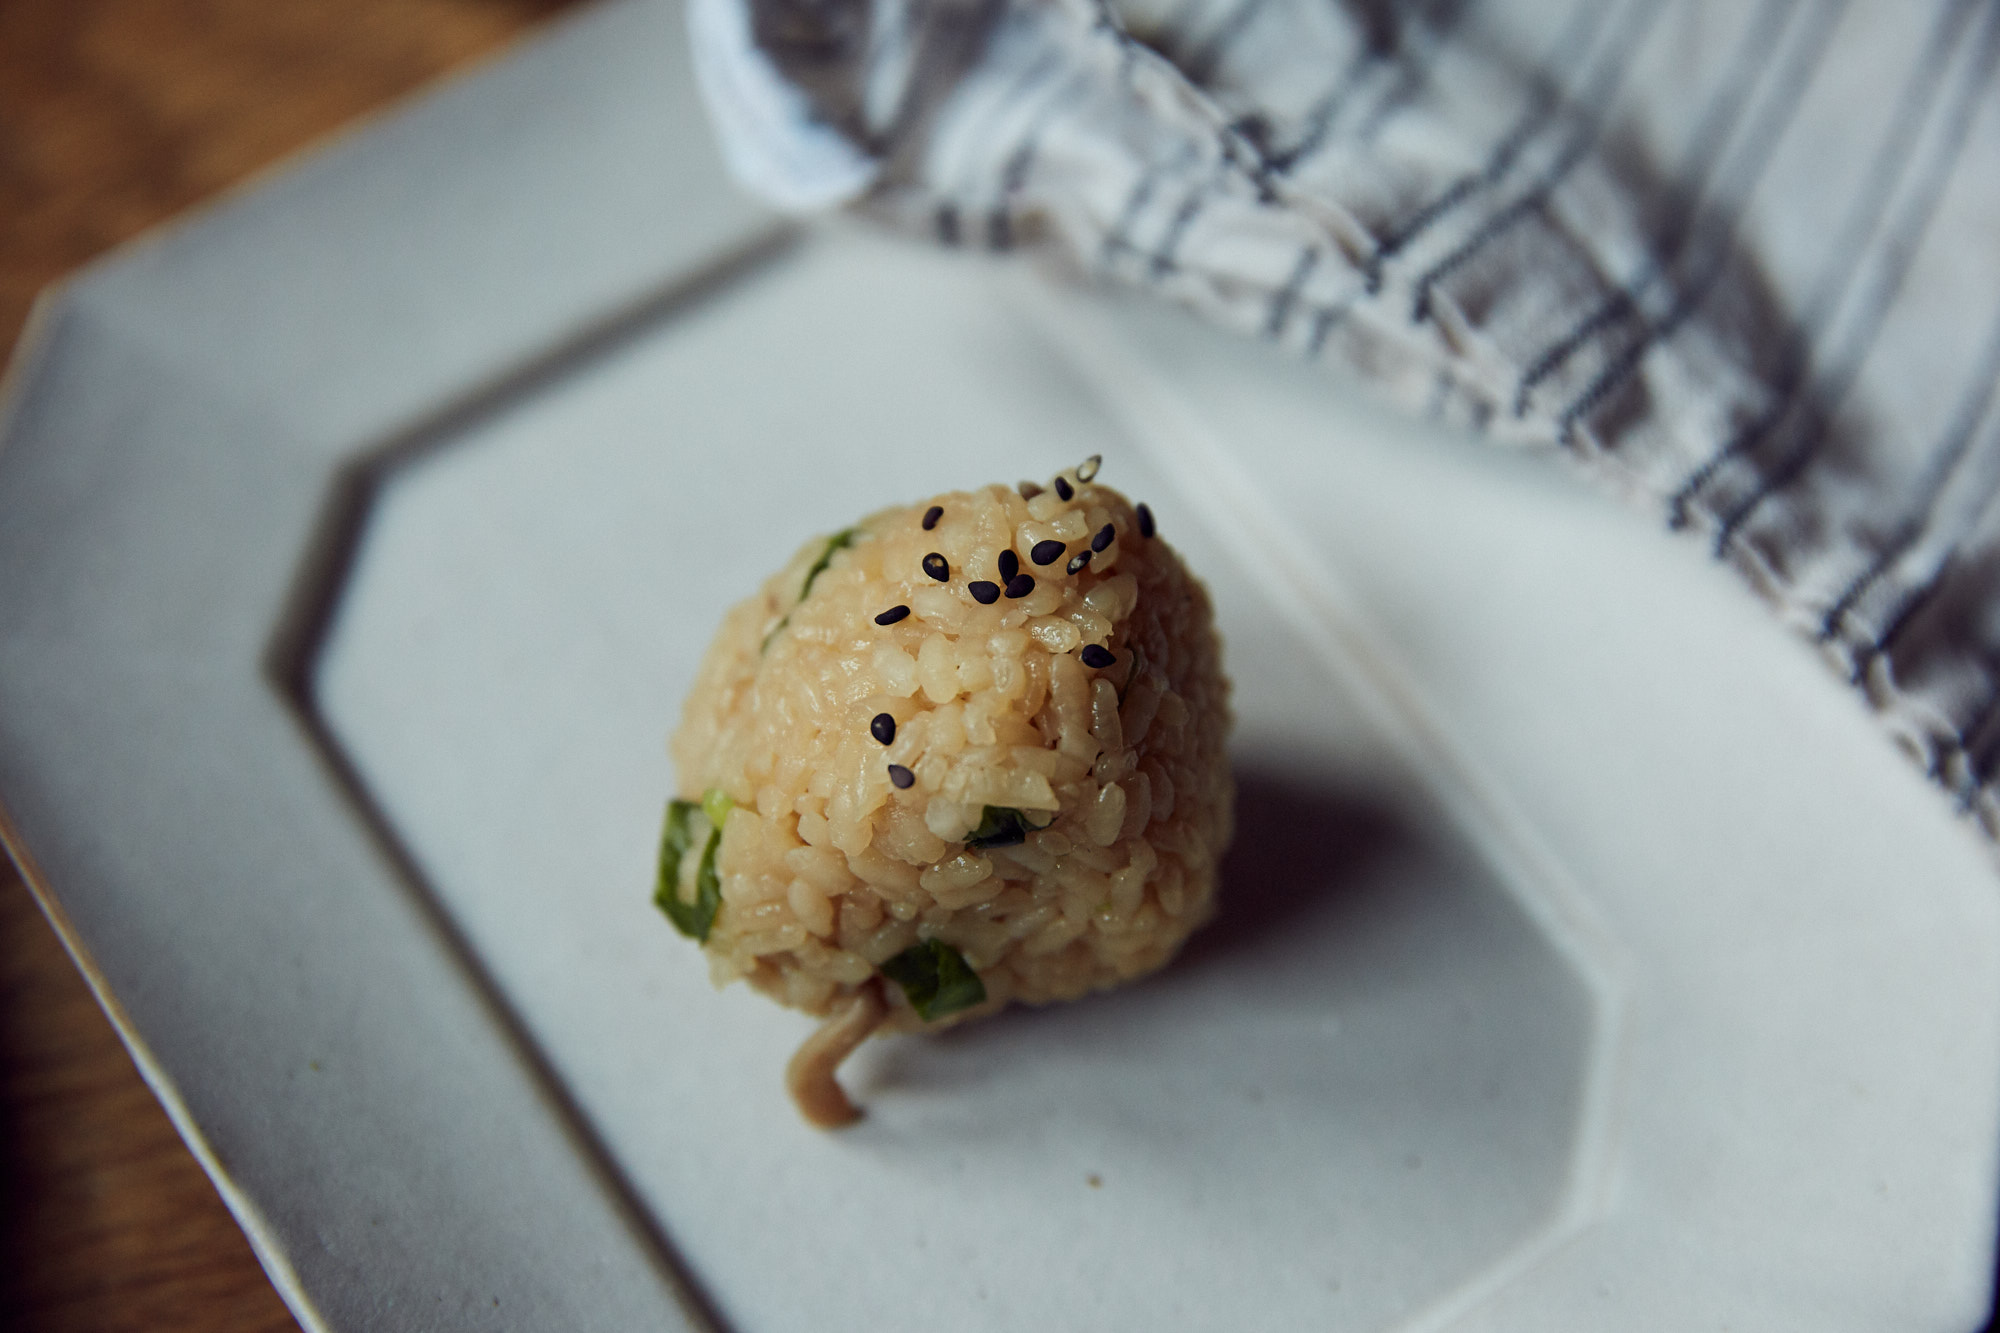
Mushroom onigiri
Makes 4 large or 6 small onigiri
200g shimeji mushrooms, ends trimmed and roughly torn
1 tbsp mirin
3 tbsp soy sauce
Sea salt
1/2 cup bonito flakes
1 cup short grain rice
2 tbsp saké
1 spring onion, finely sliced
black sesame seeds, toasted, to serve
Place the mushrooms in a small bowl and add the mirin, 1 tablespoon of the soy sauce and a large pinch of salt. Stir to coat the mushrooms and allow to sit for ten minutes.
Meanwhile bring 300ml of water to the boil in a small pot over a medium heat. Add in the bonito flakes and simmer for five minutes. Drain the liquid, which is now dashi, through a sieve, reserving the dashi for the rice and keeping the bonito flakes for another use which can be simmered again to create a second stock another time. Set aside while you wash the rice.
Place the rice in a pot or stove-top rice cooker and fill with cold water. Agitate the grains with your hands, draining away the starchy water. Repeat this until the water runs almost clear. Pour in the dashi that you made earlier, along with the saké and remaining soy sauce. Stir to combine.
Lay the mushrooms on top of the rice and leave to soak for 30 minutes before turning on the heat. This helps the rice to stick together, perfect for onigiri. Bring to the boil over high heat. Reduce heat to low and cover. Cook until all water has been absorbed (approximately 10–15 minutes) and remove from heat. Leave covered for a further five minutes to allow the rice to finish absorbing any excess moisture.
Allow to cool slightly then stir through the spring onions and season to taste with salt. Once the rice is cool enough to handle, you can begin to shape your onigiri.
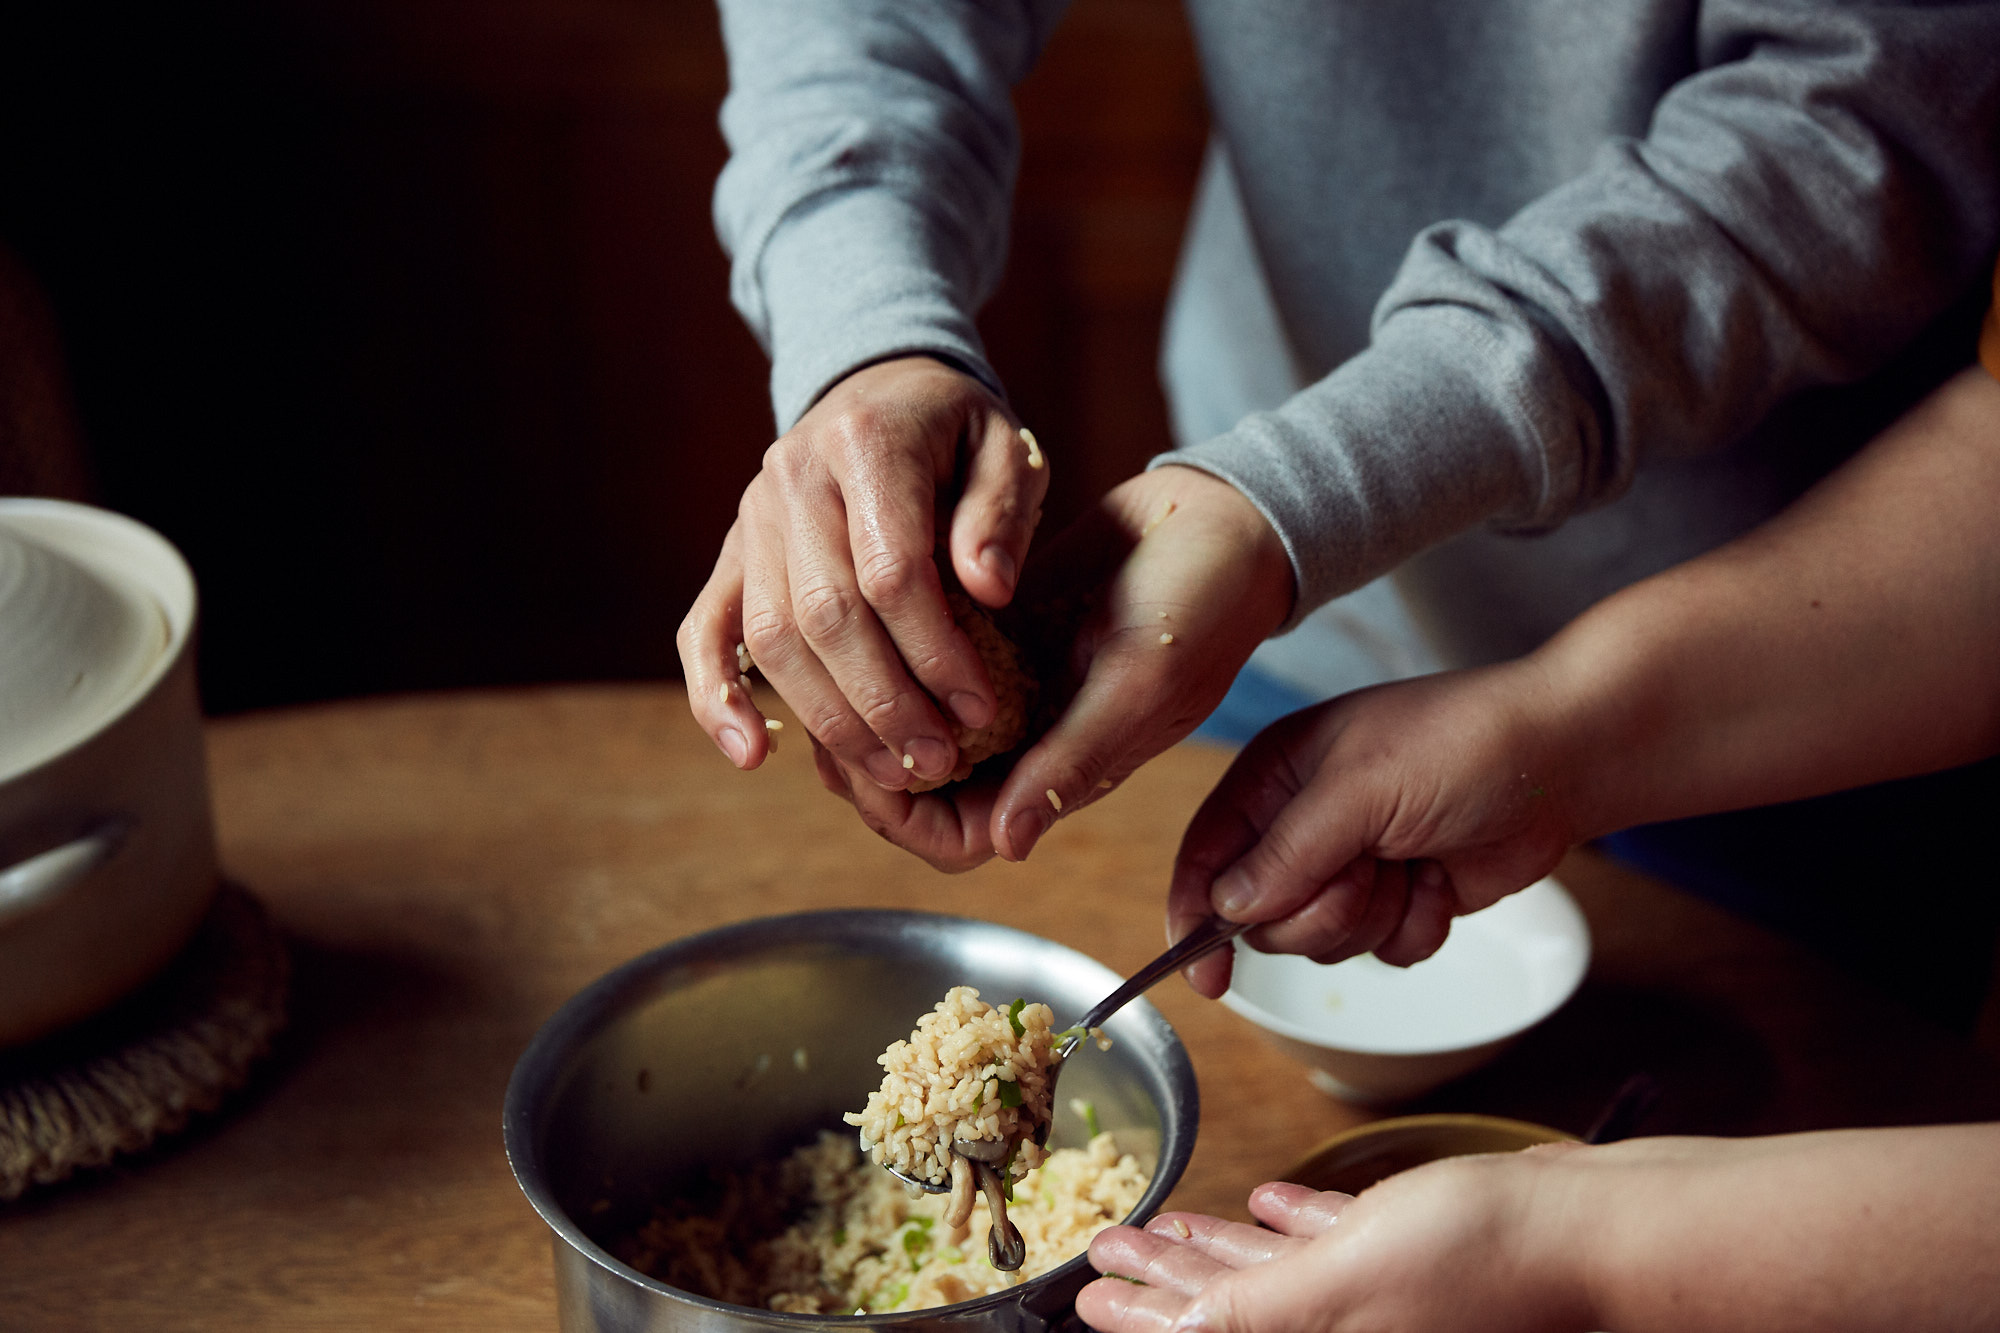
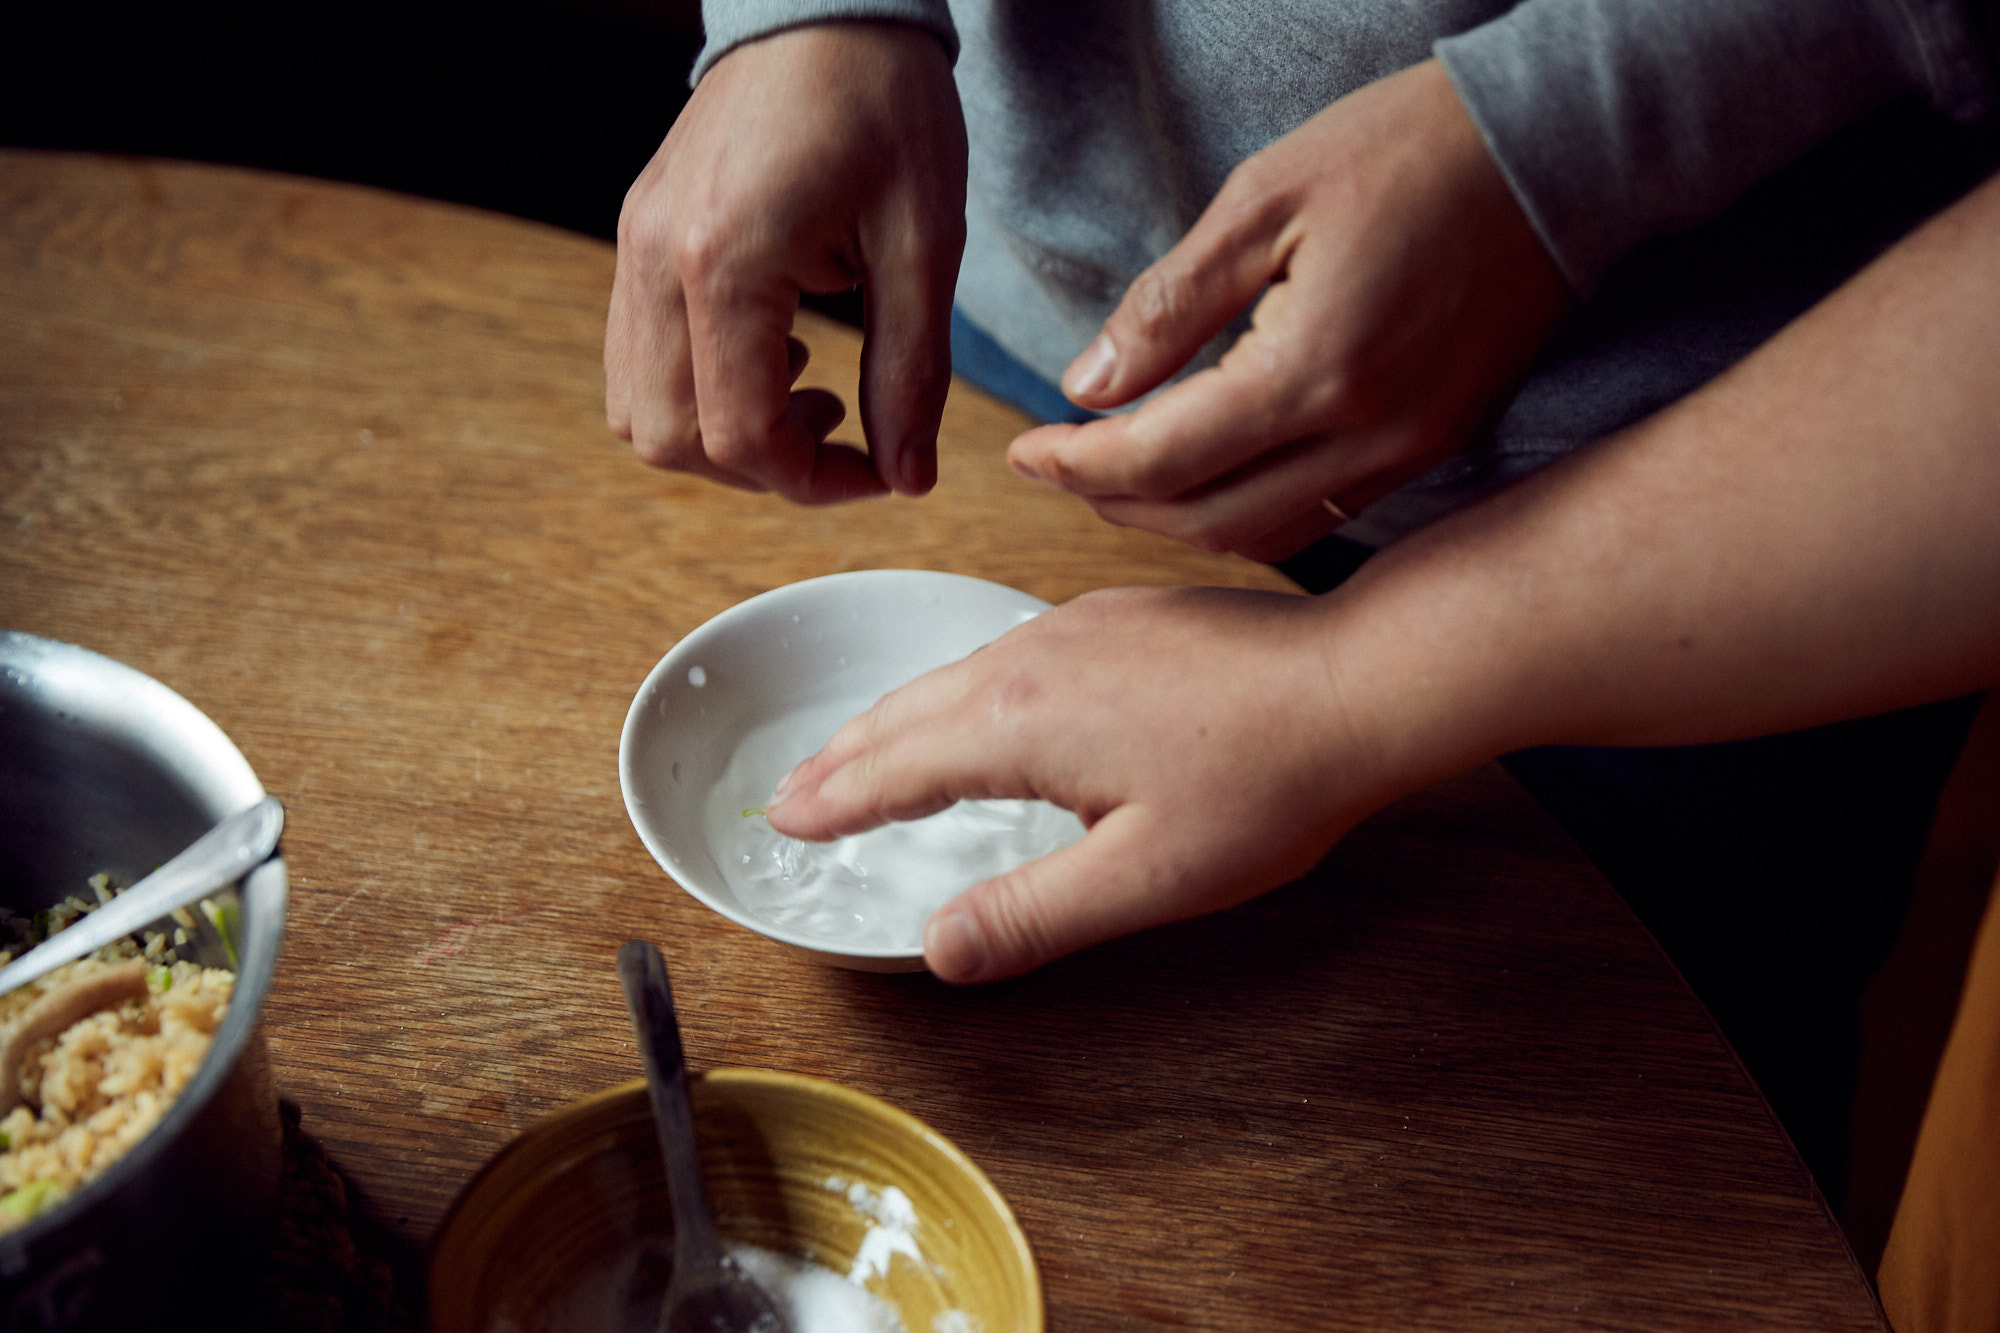
To shape the onigiri, wet your hands with cold water, then coat your hands with a pinch of salt. Take a large spoonful of rice and place in the palm of your hand. Cup your hands slightly and use one hand to rotate the onigiri and the other to cup it until you have a firm triangle. Try and work fast to avoid the rice sticking to your hand – if this does happen, you can dip your hand in water again. Sprinkle each onigiri with a small pinch of sesame seeds and serve warm or at room temperature.

Thank you to our slow food local hero Julia Busuttil Nishimura for sharing her recipes for Japan’s favourite lunch snack. Julia calls her style of cooking “food for living and sharing” and you can find more every day deliciousness in her debut cookbook Ostro, which Nigella Lawson calls “real food and life-enhancing.”